Upload app
3 minute read
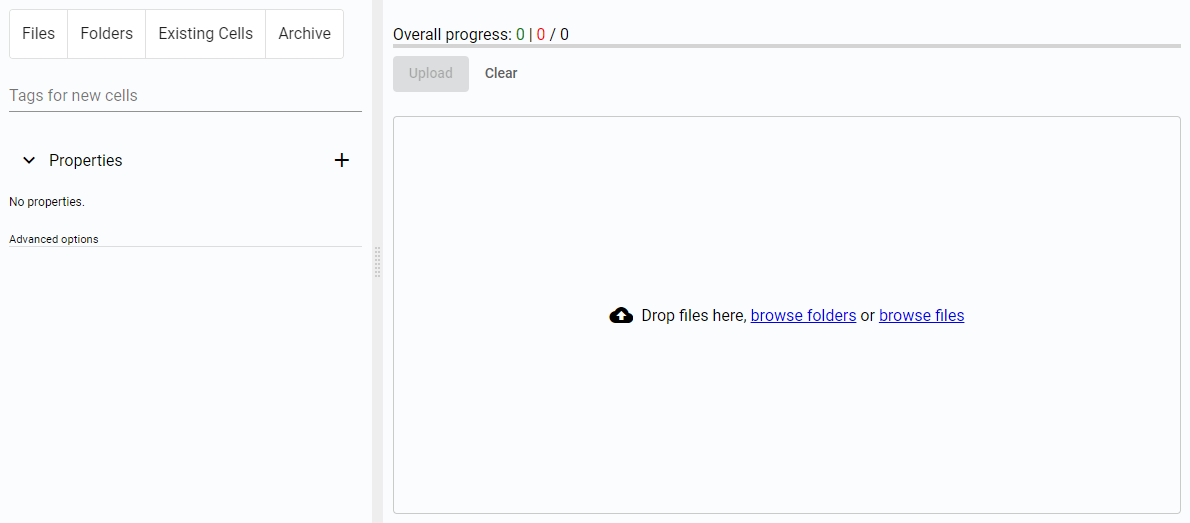
The Upload view is divided into three areas. In the main window, you can upload and drop any data for upload. In the top left corner, there are options to choose the method of data upload. On the left side, Tags and Properties can be prepared for the Cells that will be created with the uploaded data.
Figure 1. Upload view
Upload options
Data can be uploaded in the following modes: Files, Folders, Existing Cells, or Archive mode. Tags and Properties can be added to each newly uploaded Cell.

Figure 2. Upload options
The same dataset was used for the illustration of the Files and Folders upload options. Once the data is placed into the upload window, its future structure becomes visible.
Files
The Files option splits the uploaded data into separate Cells, with each file placed in a new Cell. The uploaded data can be of any data type. Filenames will be unified across all Cells and the original names will be preserved in Cell Properties.
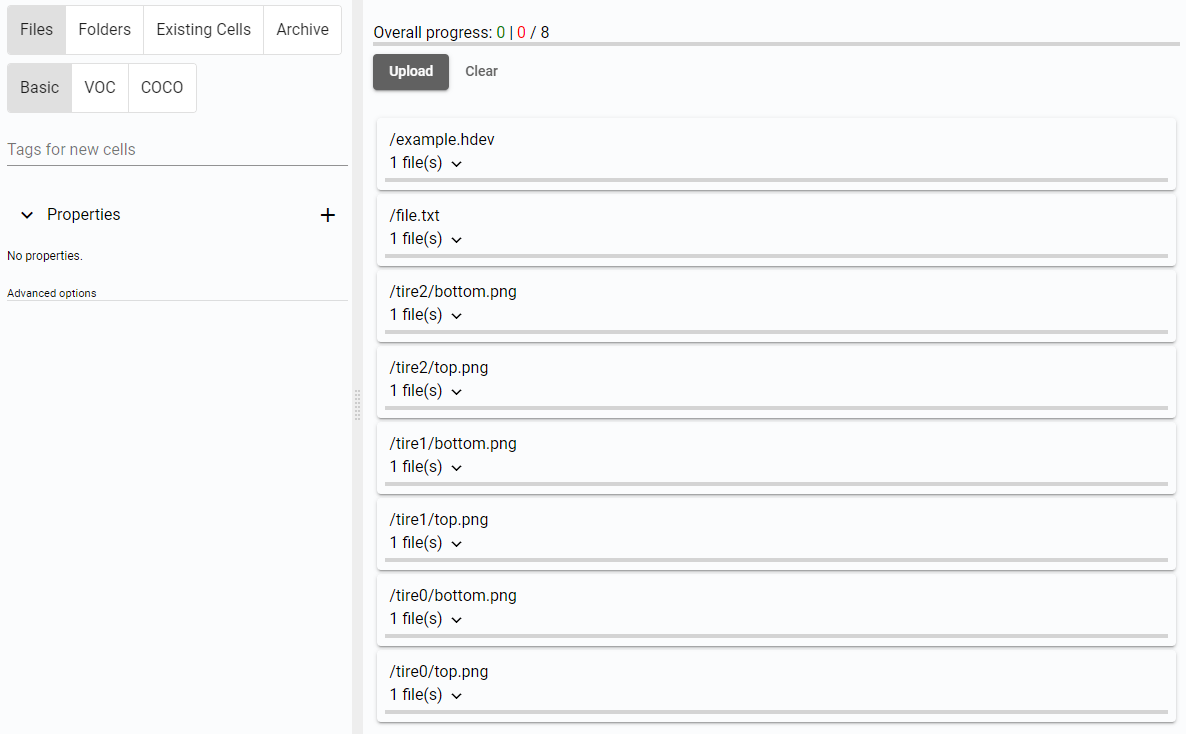
Figure 3. Files to upload
Folders
The Folders option preserves the same folder structure as on the local disk. The Cell structure mirrors the folder structure before upload, allowing multiple files to be uploaded to the same new Cell. The uploaded data can be of any data type. The original folder paths will be preserved in Cell Properties.
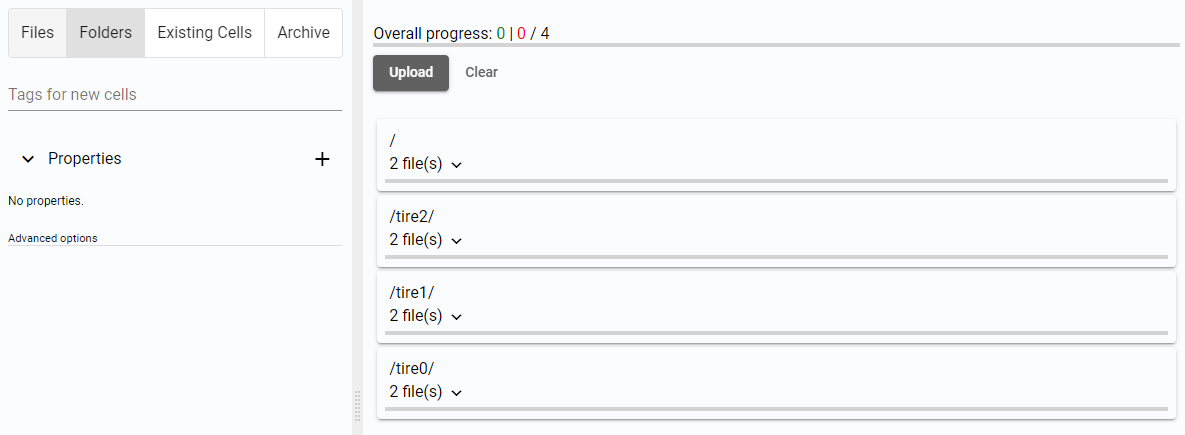
Figure 4. Folders to upload
Existing cells
The Existing Cells option allows uploading any previously downloaded or exported Cells. The Cells needs to have a descriptor and may contain additional data. The Cells need to be extracted from an archive first.
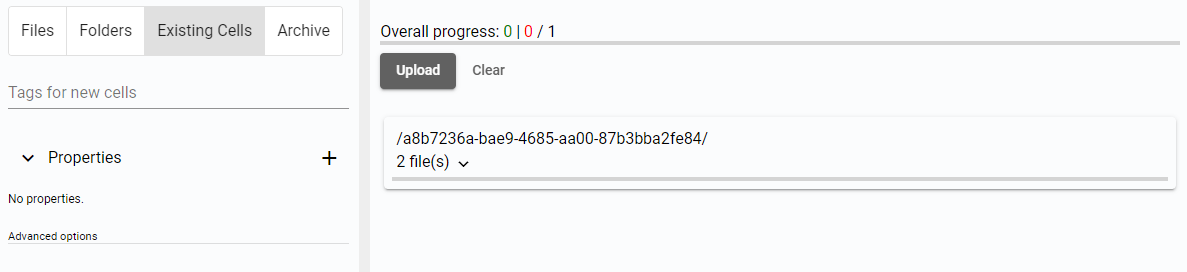
Figure 5. Cell to upload
Archive
The Archive option enables uploading previously downloaded Cell archive in zip format. The uploaded Cells will maintain their defined structure and information.

Figure 6. Archive to upload
|
Note
|
Before uploading already existing Cells in Existing Cell or Archive mode, make sure to create the matching Workspace and Tag templates.
|
|
Tip
|
Only zip packages containing the Cell descriptor can be successfully uploaded.
|
Tags
Prepared Tags can be used for all Cells created from one dataset.
Properties
Prepared Properties can be used for all Cells created from one dataset.
Advanced options
In the Advanced options, there is an option to enable parallel upload.
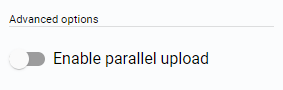
Figure 7. Advanced options
Upload window
To upload data, simply drop files, browse folders, or browse files into the upload window.
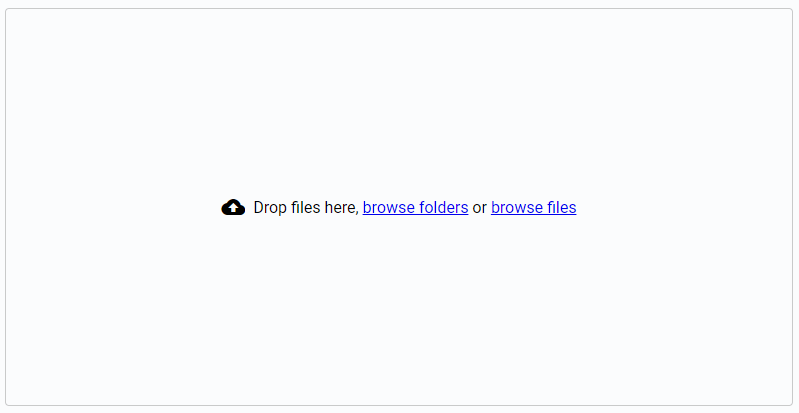
Figure 8. Upload window
Drop files
Select files from the local disk, such as from File Explorer, and move them into the window. This method is useful for uploading multiple files, especially when the data is prepared for multiple Cells.
Browse folders
Select this option and choose a folder with data to upload in the popup window. You can select only one folder, but it can contain structured data. The uploaded data can follow the same structure as on the disk.
Browse files
Select this option and choose any number of files to upload in the popup window.