
Uploading data
2 minute read
There are two ways to upload data into BeeYard. To upload data into new Cells, use the Upload app. To upload files to specific existing Cells, use the Editor app.
When using the Upload app, a new Cell is created for each file or folder loaded into the upload window. All Cells created from one dataset can be assigned Tags and References.
|
Tip
|
To create Cells with Tags and References, follow these steps: prepare the Tags and References, drop the data into the upload window, and click on the Upload button.
|
Prepare Tags for new Cells
-
Click on the
Tags for new cellsline.
Figure 1. Tags for new cells -
View the list of Tags existing in the active Workspace.
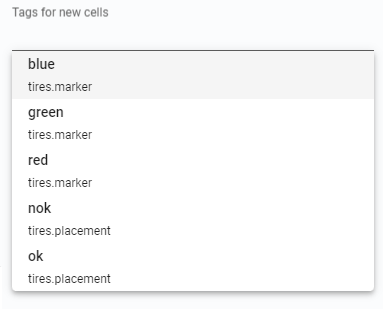 Figure 2. List of Tags
 -
Select the desired Tag.
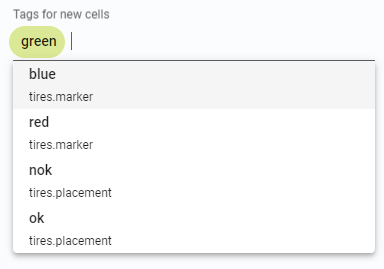 Figure 3. Selected Tag
 -
Repeat from step 1 to add more Tags.
Prepare Properties for new Cells
-
Click on the
App propertybutton to add Properties to the new Cells.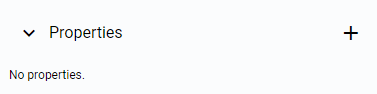 Figure 4. Properties
 -
Set the Property key, type, and value.
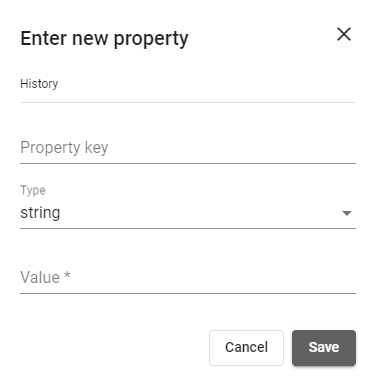 Figure 5. Enter new property
Upload data
-
To upload data, you can drop the files from File Explorer into the interactive window area. Alternatively, use the
browse foldersorbrowse filesoptions to select a folder or individual files for upload.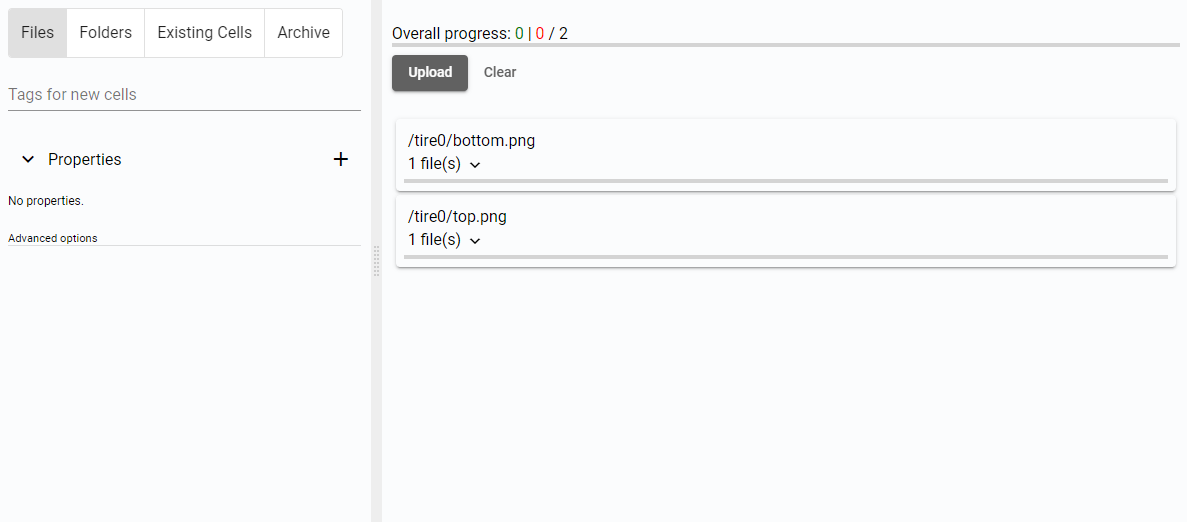 Figure 6. Dropped files
 -
A list of files or folders will be displayed, with a possible warning about incorrect data type.
Data can be uploaded as
Files,Folders,Cells, orArchive. Each option has different data type requirements.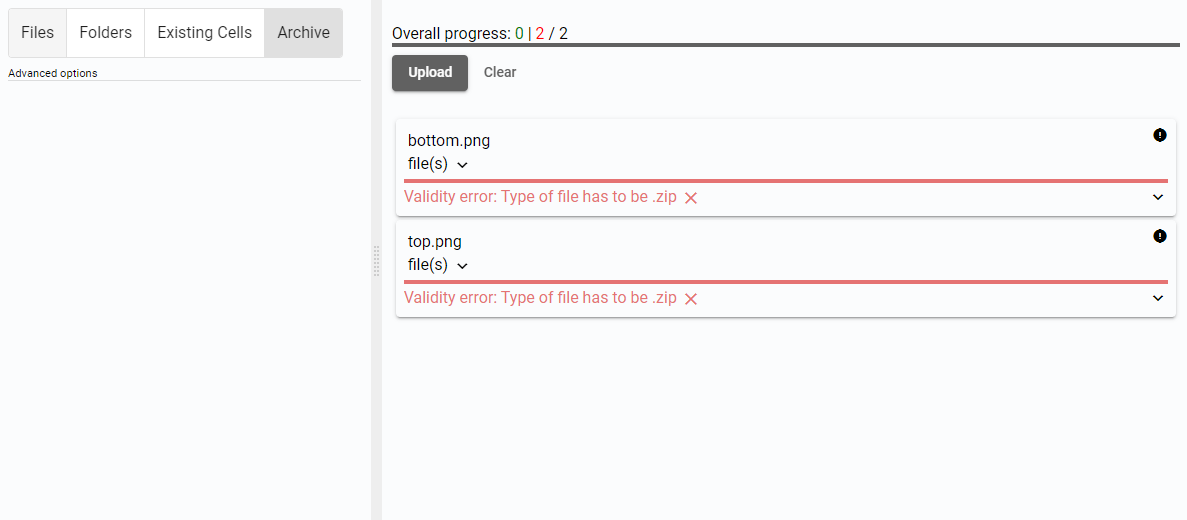 Figure 7. List of files to upload - failed
 -
Click the
Uploadbutton. Figure 8. Upload and Clear buttons
 -
A popup window will appear, providing information about the completed upload, including the number of created Cells.
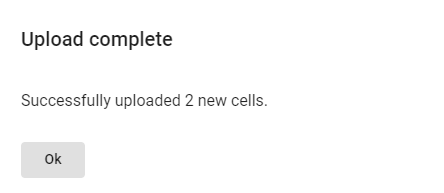 Figure 9. Upload complete window
 -
To upload the data to new Cells, click the
Uploadbutton again. To remove the data, click theClearbutton.
Figure 10. Upload and Clear buttons -
Repeat from step 1 to upload more data.