Managing Users and Clients
3 minute read
To access BeeYard, you need to create a User with a username and password. An email address is used as a username. Each User can be assigned multiple Roles, and each Role defines the User’s authorized actions.
For more information about the layout, refer to the Users and roles description.
Users
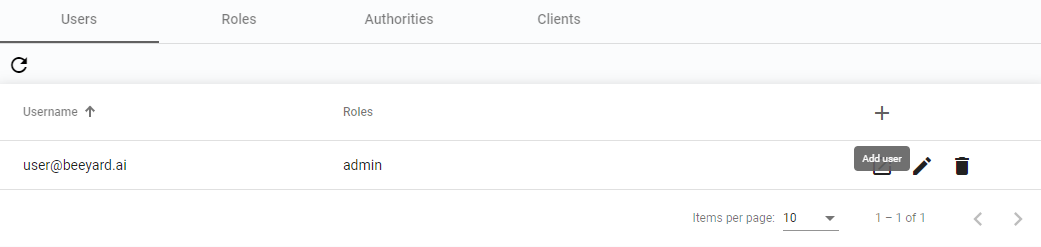
The User page displays a list of existing Users, along with their assigned Roles.
Add User
-
To create a new User click the
Add userbutton
Figure 1. Add User -
Enter the User’s name, last name, and email (which will serve as the username).
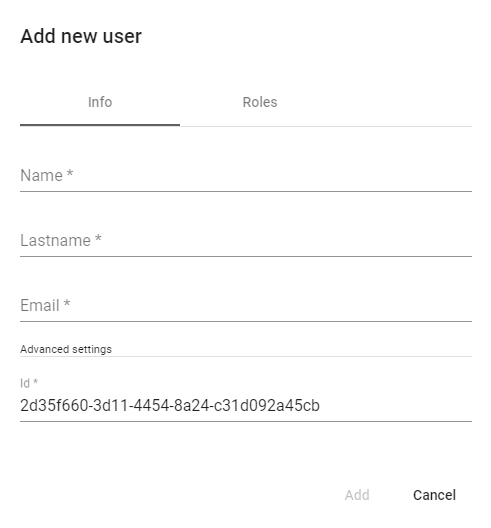 Figure 2. Add new User
 -
Assign Roles to the User from the Roles section.
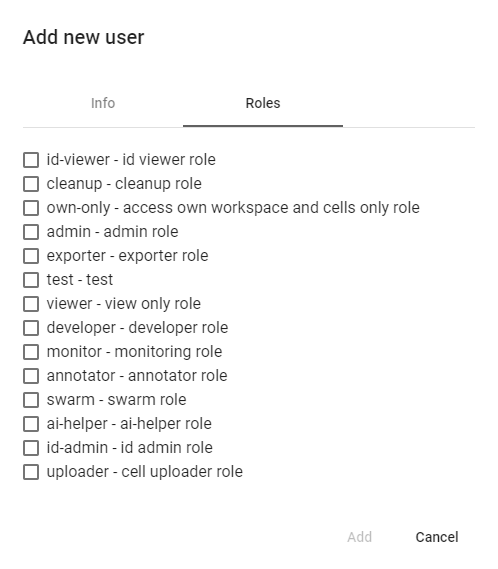 Figure 3. Add new User Roles
 -
Click the
Addbutton to create the User.
Show User details
-
Click the
Show detailsbutton to view the User’s details. Figure 4. Show details
 Figure 5. Details
Edit User
-
Click the
Edit userbutton to modify the User’s assigned Roles or password. Figure 6. Edit User
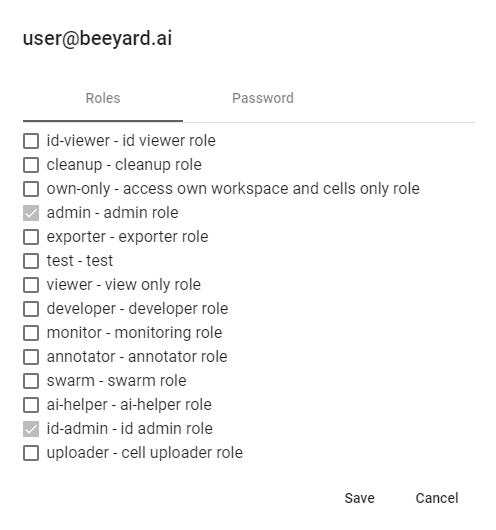 Figure 7. Edit User Roles
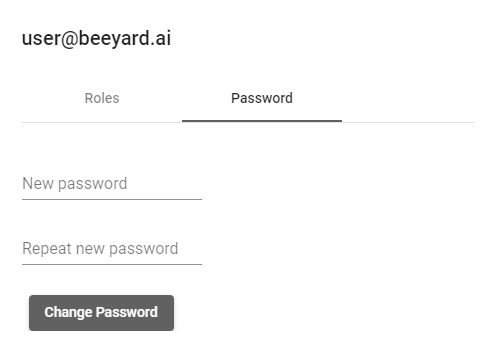 Figure 8. Change password
Disable User
-
Click the
Disable userbutton to deactivate the User.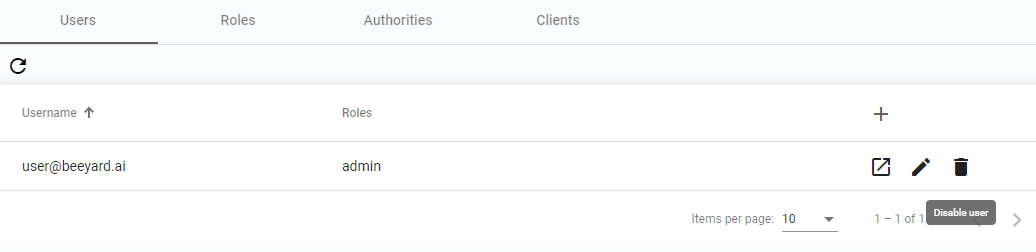 Figure 9. Disable User
|
Note
|
A disabled User cannot authenticate. You can restore a disabled User later if needed. |
Restore User
A disabled User is highlighted and can be restored.
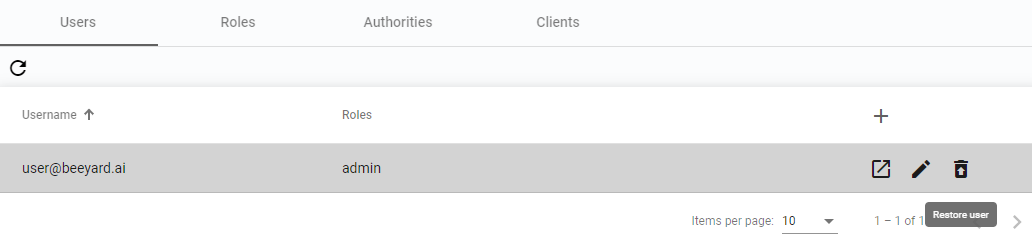
Figure 10. Restore User
Roles
In the Roles section, you can define new Roles and modify existing ones.
Roles determine the actions that Users can perform in BeeYard.
Add Role
-
Click the
Add rolebutton to create a new Role. Figure 11. Add role
 -
Provide a name, description, and select the desired Authorities from the list.
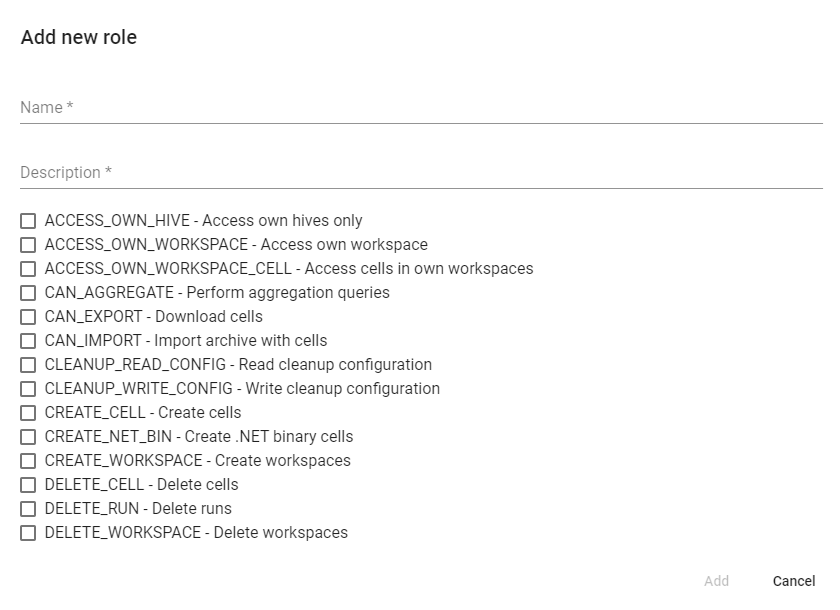 Figure 12. Add new role
Change Authorities
-
To modify the list of active Authorities for a Role click the
Edit authoritiesbutton. Figure 13. Edit authorities
 -
Select the desired Authorities from the list.
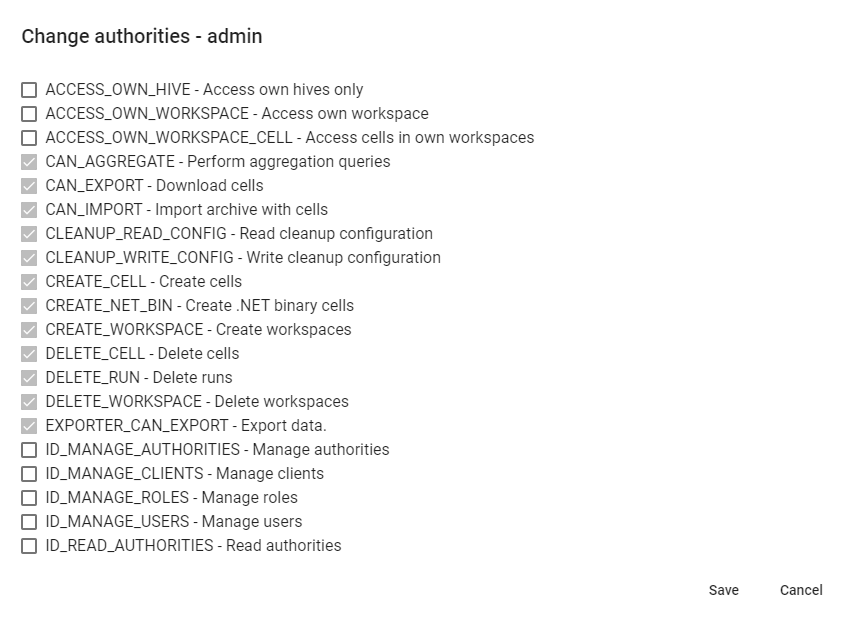 Figure 14. Change authorities
Delete role
Roles cannot be disabled, only removed.
-
Click the
Delete rolebutton to remove a Role.
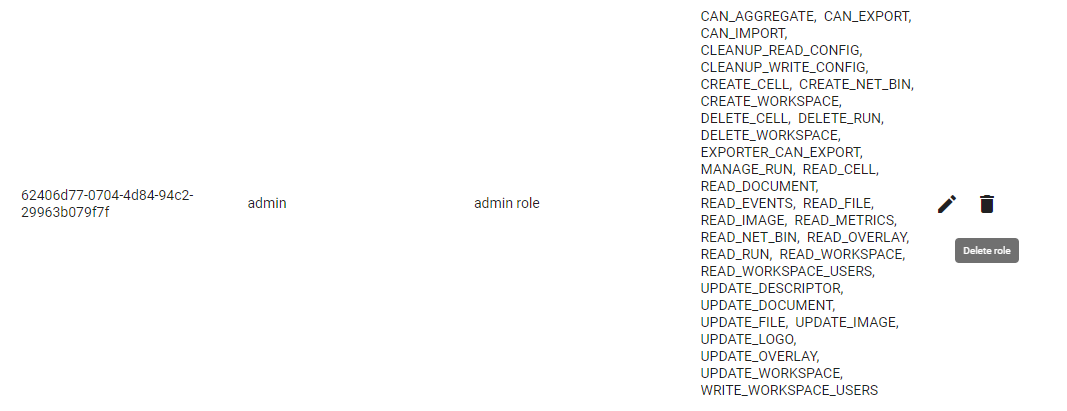
Figure 15. Delete role
Authorities
This section lists all available built-in Authorities that can be assigned to Roles.
Clients
Clients are machine Users represented by a Client ID and a Client secret. They can be assigned Roles in the same way as Users.
Add Client
-
Click the
Add clientbutton to create a new Client. Figure 16. Add Client
 -
Set the Client ID and select the desired Roles.
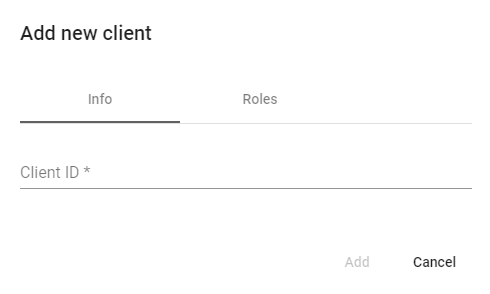 Figure 17. Add new Client
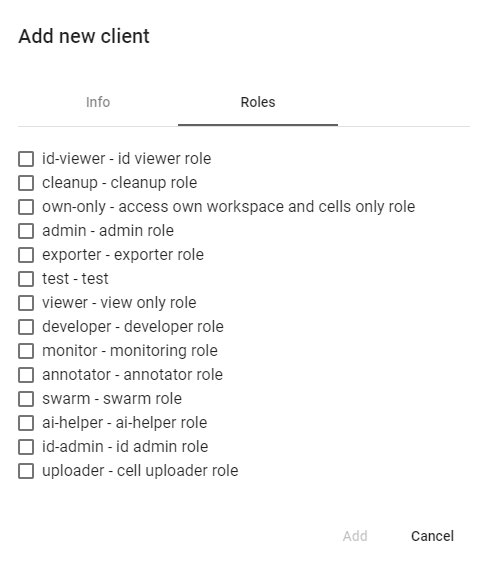 Figure 18. Add new Client Roles
Show Client details
-
Click the
Show detailsbutton to view the details of a Client. Figure 19. Display Client details
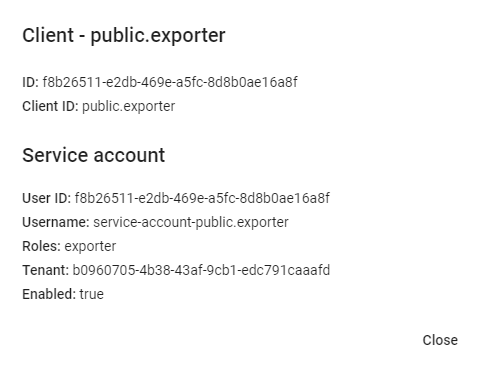 Figure 20. Client details
Edit Client
-
Click the
Edit clientbutton to modify the Client’s assigned Roles or update the password. Figure 21. Edit Client
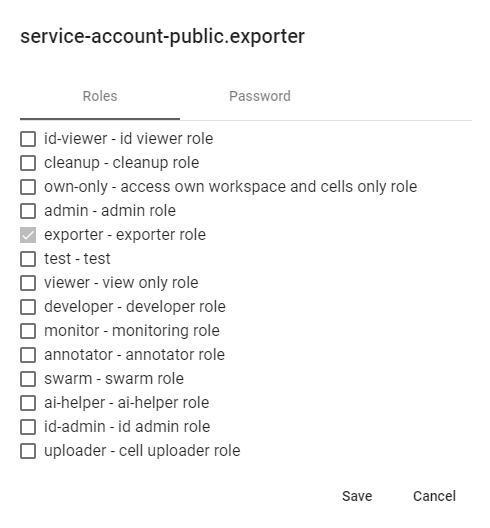 Figure 22. Edit Client’s Roles
Regenerate Client secret
-
Click the
Regenerate client secretbutton to generate a new Client secret. Figure 23. Regenerate Client secret
 -
Confirm this action in the new popup window.
Disable Client
-
Click the
Disable clientbutton to deactivate a Client. Figure 24. Disable Client
Restore Client
-
Click the
Restore clientbutton to restore a previously disabled Client. This option is only available for disabled Clients. Figure 25. Restore Client