Installation and setup
4 minute read
Installation
MERLIC plugins for BeeYard can be installed on a Windows or Linux computer. Archives are available for both platforms and UI installer is available for Windows. MERLIC is required, available on MERLIC download web page.
System requirements
-
x64 architecture.
-
System requirements for MERLIC are available on the MERLIC download web page for each Halcon version (e.g. Installation Guide for MERLIC).
Prerequisites
-
MERLIC 5.4.0. or MERLIC 5.4.1
Installing the MERLIC plugin on Windows using the installer
-
Download and run the installer.
-
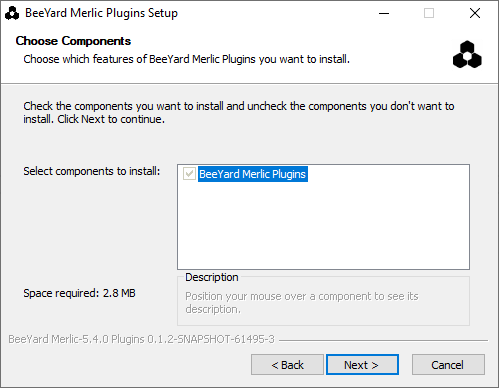
Once you get to the component selection page, make sure everything is checked
-
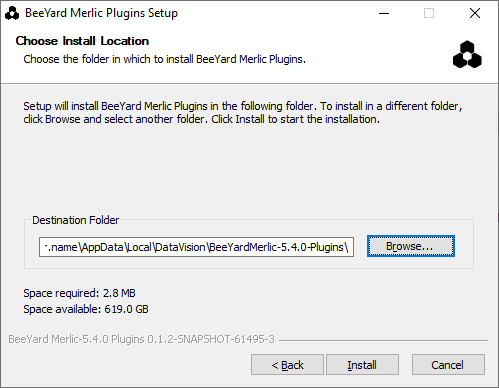
Choose a suitable location where to install the MERLIC communicator plugin, or leave the default location.
-
The installation should then finish successfully!
-
Add the following lines to the Communicator.ini file. Create the file if it doesn’t exist. The file can be found at
$Env:APPDATA\\MVTec. E.g.C:\Users\user.name\AppData\Roaming\MVTec. The path to the MERLIC plugin can beC:\Users\user.name\AppData\Local\DataVision\BeeYardMerlic-5.4.1-Plugins.[Communicator] PluginDir=<path-to-merlic-plugin>/bin/
Installing MERLIC plugin on Linux
-
Download and extract the archive to a location of your choice.
-
Add the following lines to the Communicator.ini file. Create the file if it doesn’t exist. The file can be found at
$HOME/.config/MVTec.[Communicator] PluginDir=<path-to-merlic-plugin>/bin/
Usage
-
Start the Windows Terminal and split the view into two tabs.
-
Change your working directory to the location where the MERLIC is installed.
cd $Env:LOCALAPPDATA\\Programs\\MVTec\\MERLIC-5.4\\bin\\x64-win64 -
In the first tab run .\merlic_communicator.exe command.
.\merlic_communicator.exe -
In the second tab run .merlic_rte_setup command.
.\merlic_rte_setup -
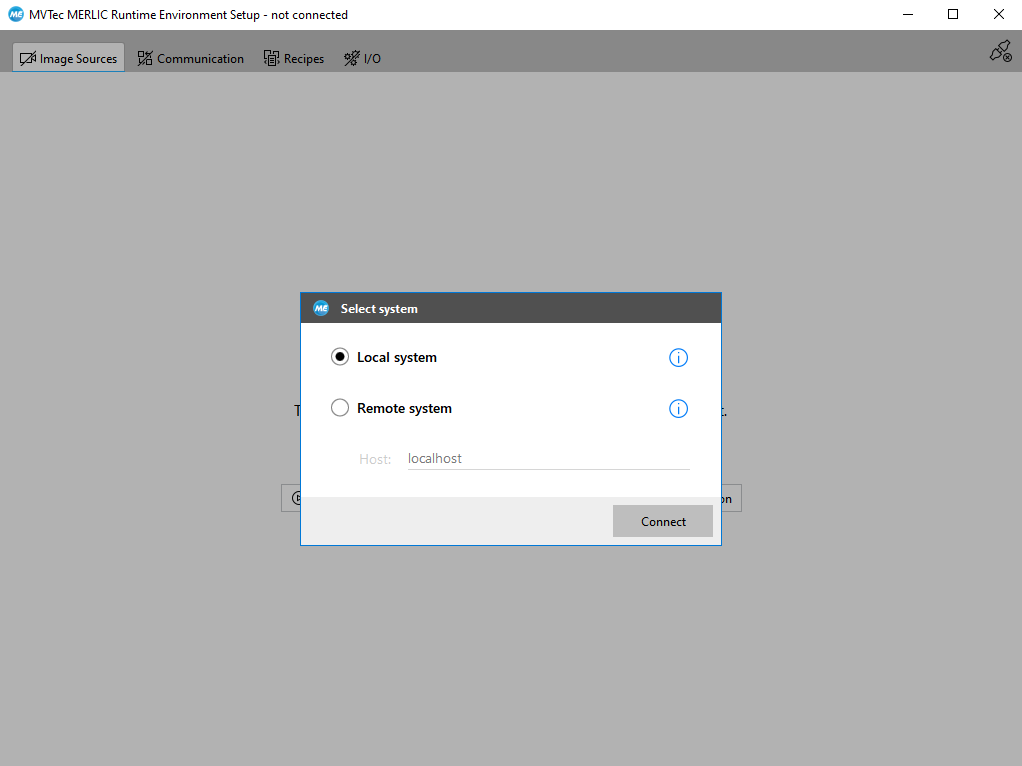
This command starts the MERLIC Runtime Environment Setup instance. First of all, keep the Local system connected.
-
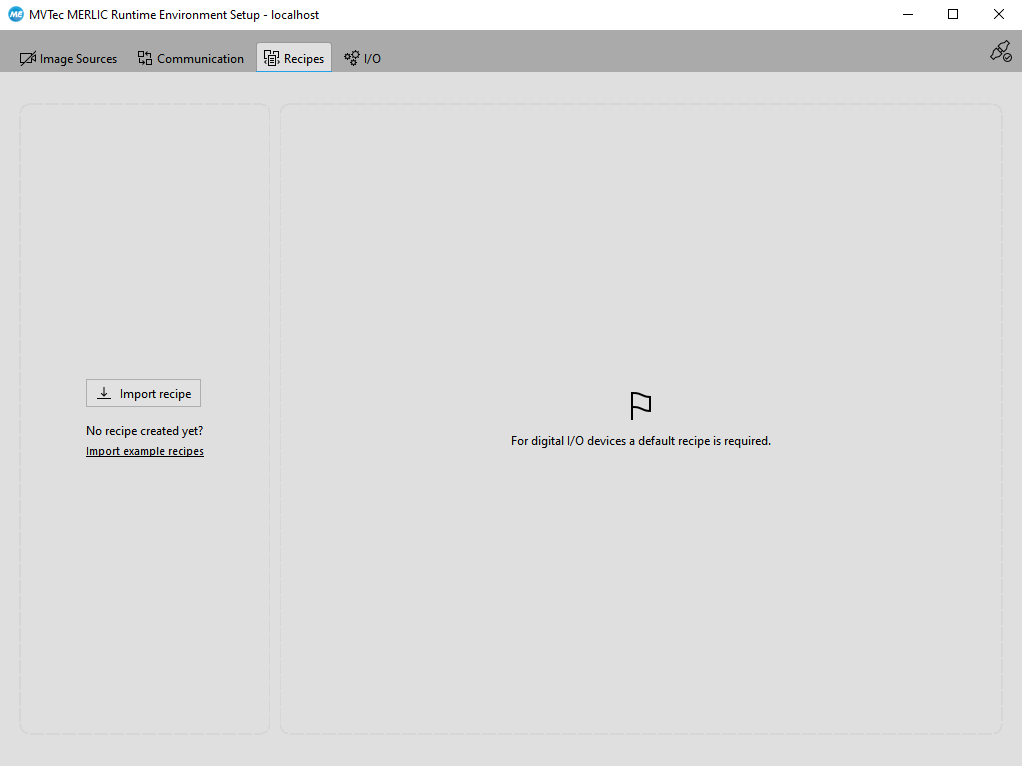
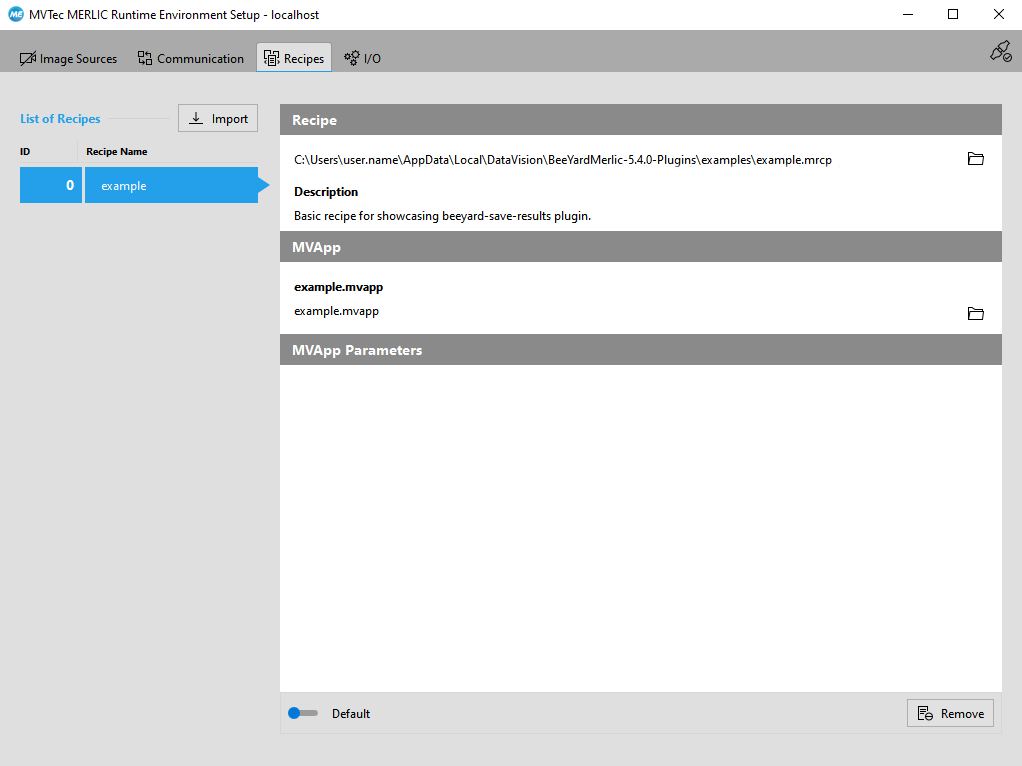
Select the Recipes tab.
-
Import the recipe. You can use the example.mrcp, located in the MERLIC communicator plugin installation directory, or you can create your own recipe in the MERLIC Creator application.
-
Be sure to set the recipe as default.

-
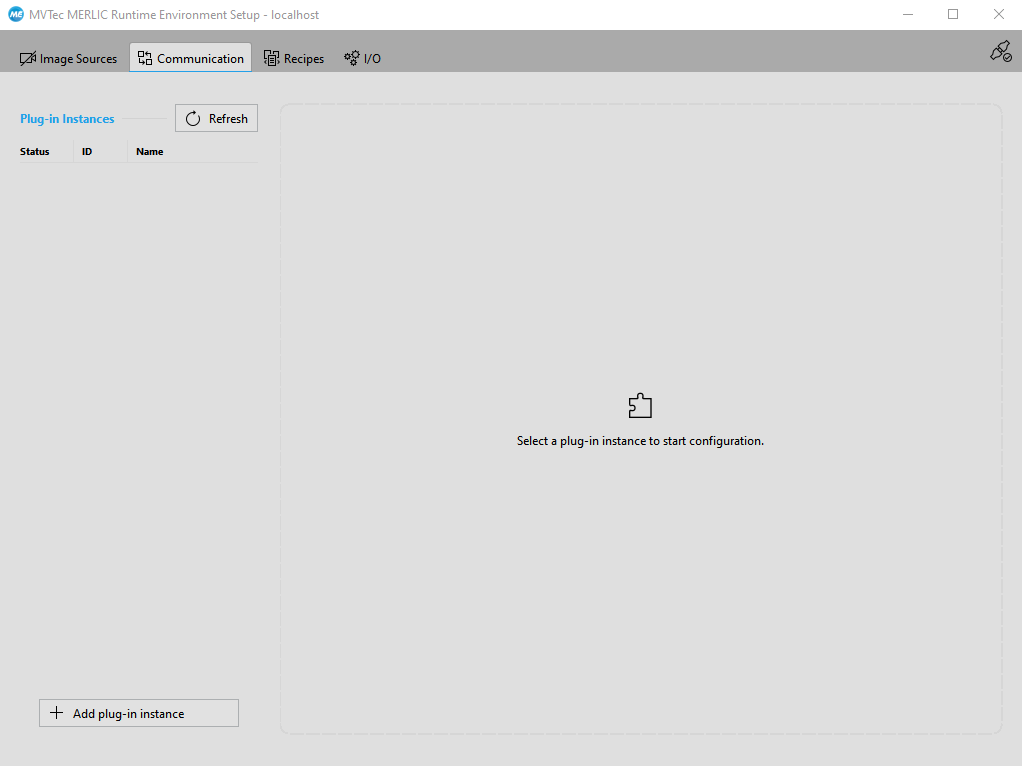
Select the Communication tab.
-
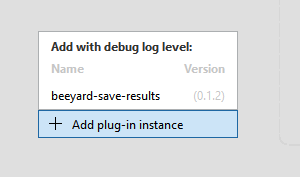
Add plugin instance. Select the beeyard-save-results.
-
Set up the parameters.
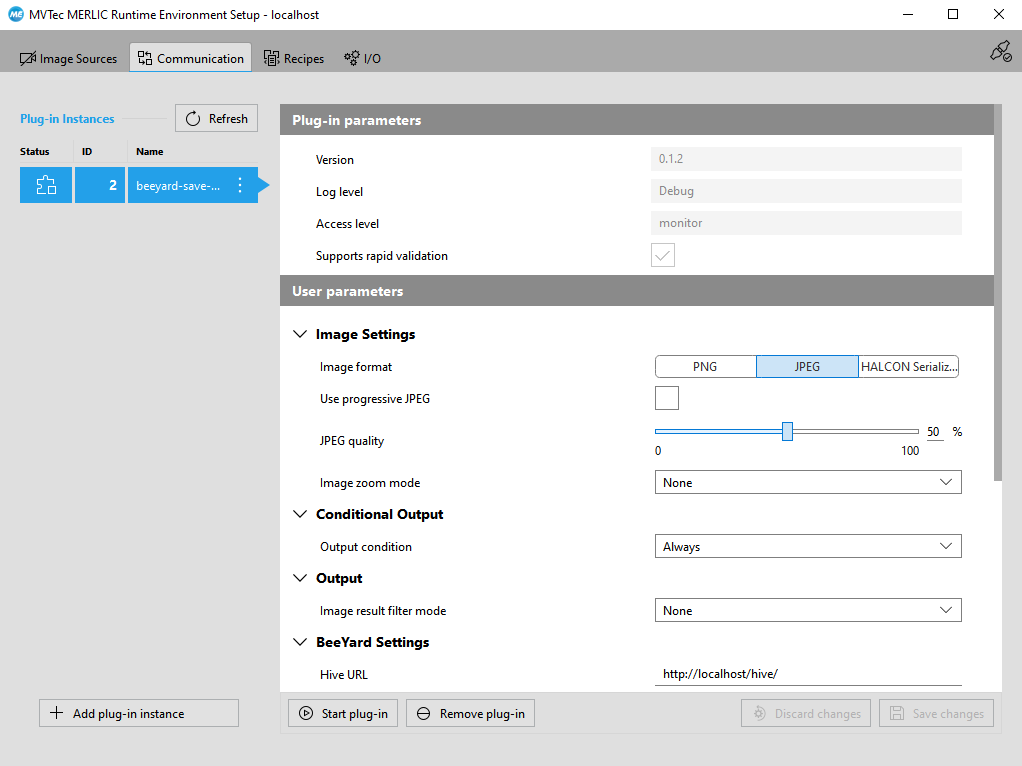
-
Save the changes. Every unsaved change is marked with a star.
-
Start the plugin.
-
In the second tab in the Windows terminal run ./merlic_rte --execute
./merlic_rte --execute
MERLIC RTE setup parameters
Image settings
-
Image format-
You can pick from
PNG,JPEG, andHALCON Serialized Item.
-
-
For the
PNGandJPEGis possible to set compression or image quality. -
For each format is possible to select an
Image zoom mode. ForFixed width and heightyou have to set width and height inpx, forZoom factorset the percentage.Nonezoom is an option too.
Conditional output
-
This option allows you to skip saving the results depending on the result output (ok/nok).
Output
-
For an output can be set an
Image result filter mode, which can be set asnone, orregular expression. The expression has to be full match to the image name without the extension.
BeeYard settings
-
Hive URLandID URL. Use localhost http://localhost/hive/ and http://localhost/id/ for the local connection or change the host to a remotely deployed BeeYard, e.g. demo.beeyard.ai. -
Pick one of the options for
Authentication modeto authenticate either using username/password or client credentials.-
For a
Username/Passworduse the same username and password as for the login into the BeeYard. As aClient IDusebyard. -
For a
Client credentialsuse fullClient IDandClient secretavailable in the BeeYard, Users section.-
The Client is a good way how to upload the results or another data to the BeeYard automatically. The best is to create a single client for each connection.
-
An example client: name:
merlic-app, required BeeYard role:Uploader. Into the MERLIC setup fill inpublic.merlic-appand the generated client secret.
-
-
-
Set the
Workspace Namespace, available in the BeeYard, Workspaces section. -
The Tags are defined by the Category and Name.
-
The category is described by a selected Workspace and the section
<namespace>.<section>. -
Tag names are the same as displayed with the data in the BeeYard.
-
To add more Tags use the
Delimiter for Tags.
-
-
As a
Result typecan be usedImage resultsorImage and Other results. If the second option is selected, set a name for any non image results.