Editor app
7 minute read
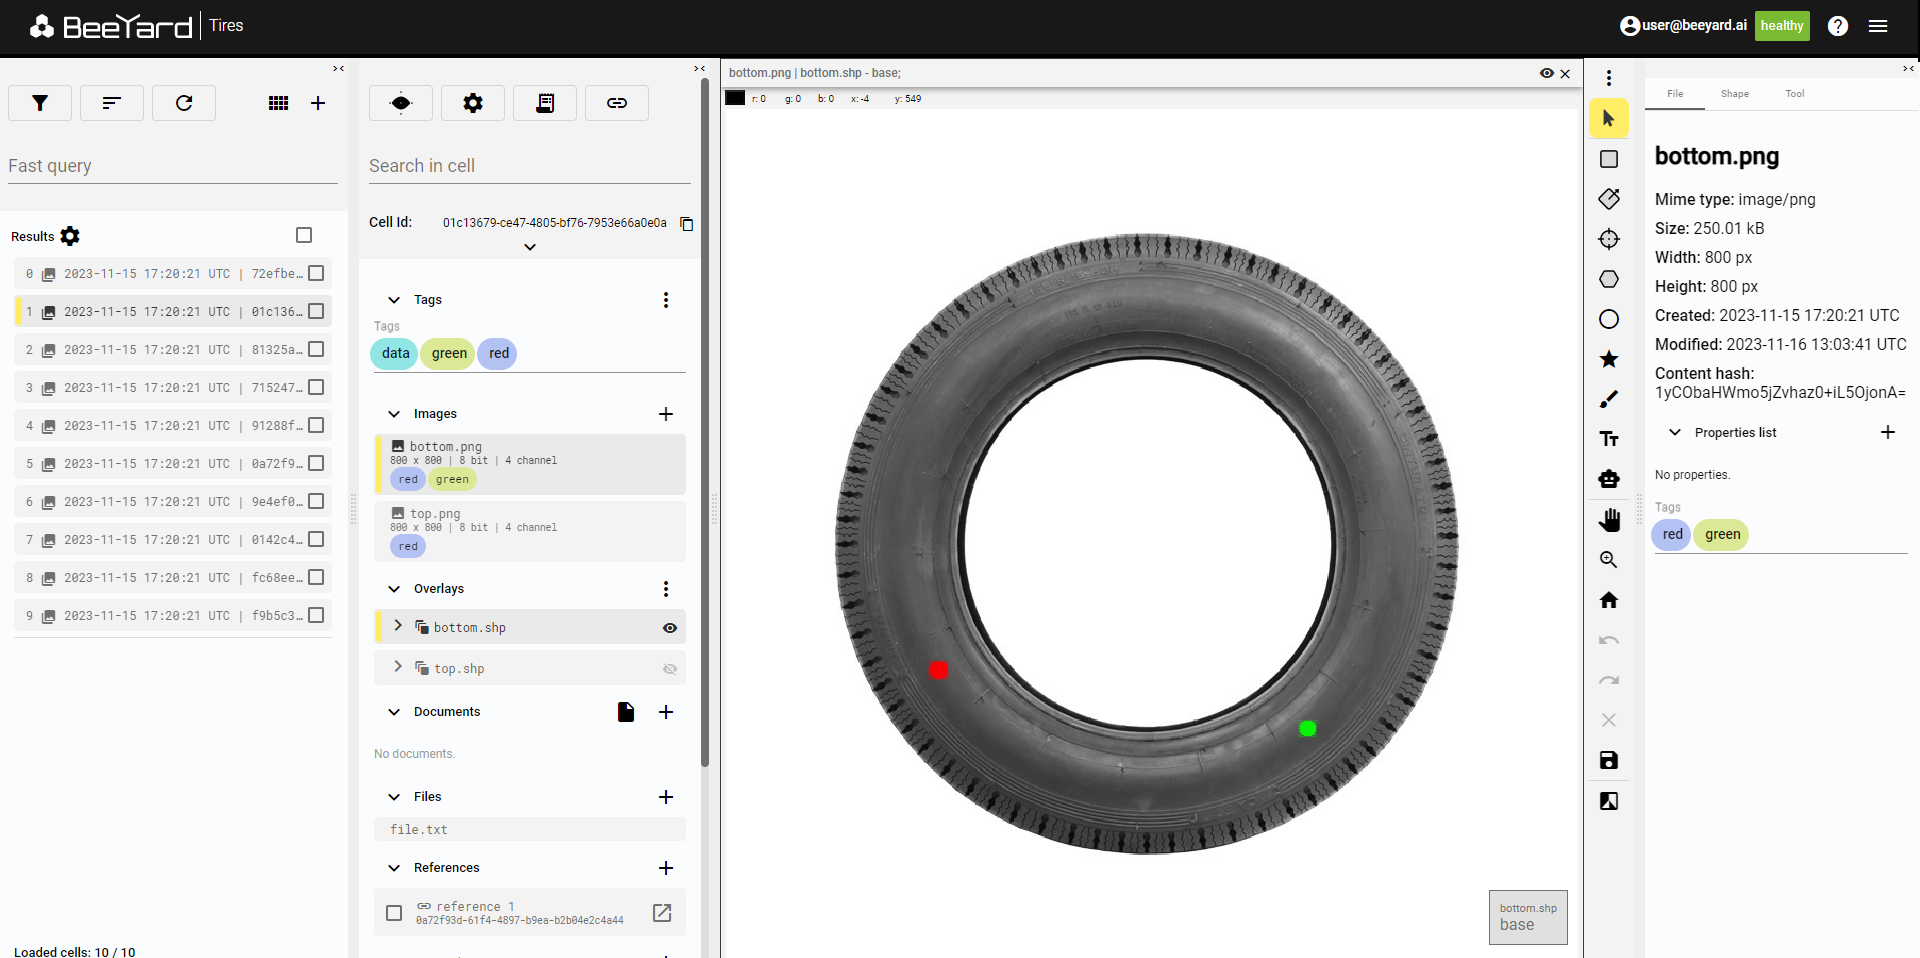
In the Editor, you can manage all the data in the Workspace.
Figure 1. Editor
|
Tip
|
If you don’t need to edit data, you can go to the Viewer app. There is a shortcut from the Cell displayed in the Editor to view the Cell in the Viewer. |
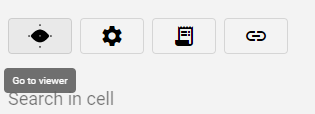
Figure 2. Go to viewer
The Editor layout is an enhanced version of the Viewer layout.
Query
In this section, you can create queries for the Cells in the Workspace. The first option is to Add query, the second is to Sort the displayed Cells, and the last one is to Refresh the list. On the side, there is a button to open the Workspace in the Gallery app and a button to Add new Cell.
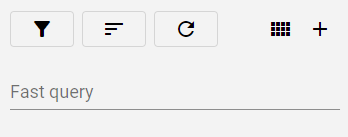
Figure 3. Query
Instructions on how to create a query can be found in the Searching cells.
When adding a new Cell, it is added empty to the active Workspace with the default data system Tag, ready for use.
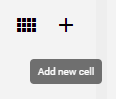
Figure 4. Add new Cell
|
Note
|
The new Cell may not be visible in the list of Cells if an active query is present. |
Result settings and Cells
The Results setting and the list of Cells have the same behavior and functions in both the Editor app and the Viewer app. Refer to the Viewer app for more details.
Result settings
The Cells in the list can be displayed with more or less information about the data inside. Click the Results setting button to access the settings.
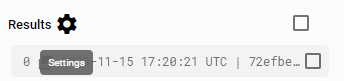
Figure 5. Results settings button
Cells
The list of Cells displays all the Cells that fit the query. If there is no active query, all the Cells from the Workspace are displayed.
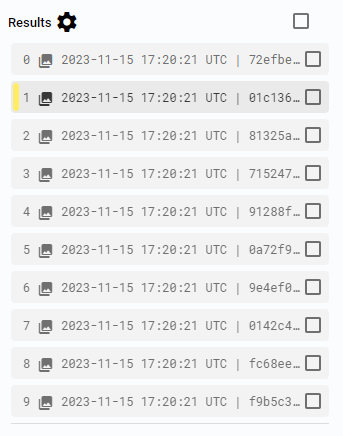
Figure 6. Cells
Batch operations
In addition to the options available in the Viewer (mentioned in the Viewer), the Editor app also provides Batch operations.
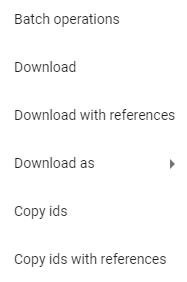
Figure 7. Selected cells operations
The batch operations window displays a list of available operations on Cells and on files, and after selecting one, the required parameters are shown.
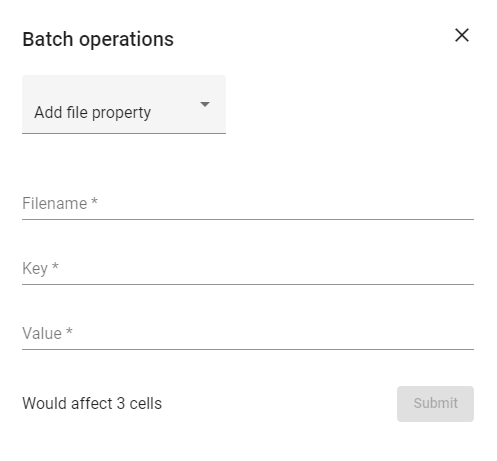
Figure 8. Batch operations
The available batch operations on Cells are:
-
Add property: Adds a property with parameters such as Property Key, Property Type, and Property Value to the selected Cells.
-
Add reference: Adds a reference with parameters such as Reference Key and Cell ID to all the selected Cells.
-
Add to workspace: Copies the selected Cells to the selected Workspace with the parameter Workspace selected from a list of namespaces. Note that the operation only adds a new workspace Tag; it doesn’t deep copy the Cell.
-
Delete cells: Deletes the selected Cells without any additional parameters.
-
Modify description: Changes the description of the selected Cells with the parameter Description.
-
Modify tags: Modifies the Tags of the selected Cells with parameters such as Tags to add and Tags to remove.
-
Remove from workspace: Removes the selected Cells from the selected Workspace with the parameter Workspace selected from a list of namespaces.
-
Remove property: Removes the matching property from the selected Cells with the parameter Property Key.
-
Remove reference: Removes the matching reference from the selected Cells with the parameter Reference Key.
The available batch operations on files are:
-
Add augmentation: Augments images in the selected Cells, following defined order and performing selected actions. Available augmentations are
Resize,Center crop,Random crop, andColor jitter. -
Add file property: Adds a property with parameters such as Filename, Property Key, and Property Value to all the matching files in the selected Cells.
-
Modify file tags: Modifies the Tags of matching files in the selected Cells with parameters such as Filename, Tags to add, and Tags to remove.
-
Remove file: Removes the matching file in the selected Cells with the parameter Filename.
-
Remove file property: Removes the matching property from the matching file in the selected Cells with parameters such as Filename and Property Key.
-
Remove layer: Removes the matching Layer from the matching Overlay in the selected Cells with parameters such as Overlay and Layer.
-
Rename file: Renames all matching files in the selected Cells with parameters such as Filename and New name.
Cell details
If any Cell is selected, more details can be displayed. By default, only the Cell ID is visible.

Figure 9. Cell details
Data
To display the data inside any Cell, select the Cell. You can view the data inside the Cell, data connected to the Cell with references, or information about the data.
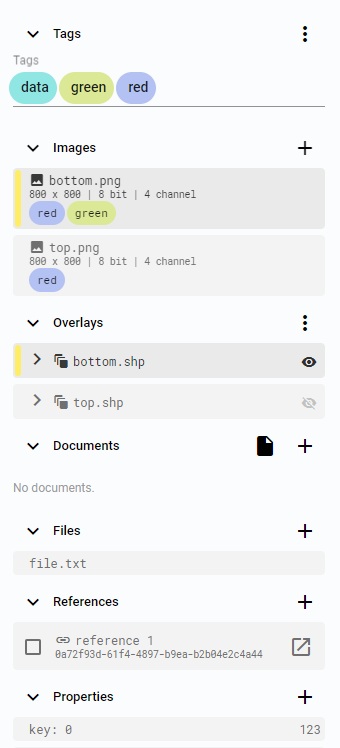
Figure 10. Cell data
In the Editor, you can add, rename, download, or remove any data inside the Cell. Supported data types can be edited.
Tags
Tags are used to annotate the data inside the Cells and the Cells themselves. Tags belong to categories, which can be custom-made. In the Editor app, you can annotate any data inside the Cell and the Cell itself and create a new Tag template. However, managing all the Tag templates for the active Workspace can be done in the Workspace settings.
Images
You can add Images to the Cell, rename them, download them, or remove them. Images are often used for annotation in combination with Overlays, Layers, and Shapes. Images and Overlays with matching names are displayed together.
Overlays
Shapes are grouped into Layers and Overlays, and Overlays can be paired with Images. A Cell can contain multiple Overlays with Layers and Shapes.
Documents
Documents are editable JSON files that can be processed in the BeeYard. You can create empty Documents, upload existing ones, edit them, and download or remove them.
Files
Any data type can be uploaded as a File, but only some MIME types can be displayed. Information about the size and existence of the File is processed.
References
References are one-directional connections from one Cell to another Cell. A Cell can refer to multiple Cells, even non-existing ones, and multiple Cells can refer to the same Cell. Cells can also refer to each other in a cycle.
Properties
Properties are JSON values connected to the Cells or data inside them. Properties can be used similarly to Tags but support any value, not just predefined enumerations.
Description
The Cell description can contain any text information about the Cell.
View
The View section displays Images, Documents, or Files. The view can be split into multiple windows, with each window displaying a different item. The name of the displayed Image, Document, or File, as well as the Image cursor coordinates and RGB value at the cursor position, are shown. The selected Overlay and Layer are named below the Image.

Figure 11. View
Annotation panel
The options on the Annotation panel depend on the type of data displayed in the selected View. If a File is displayed in the active view, the panel does not offer any tools. For Documents, the Edit option is available, and for Images, there are options to add Shapes, tools to manipulate the Image, and apply filters to the Image.
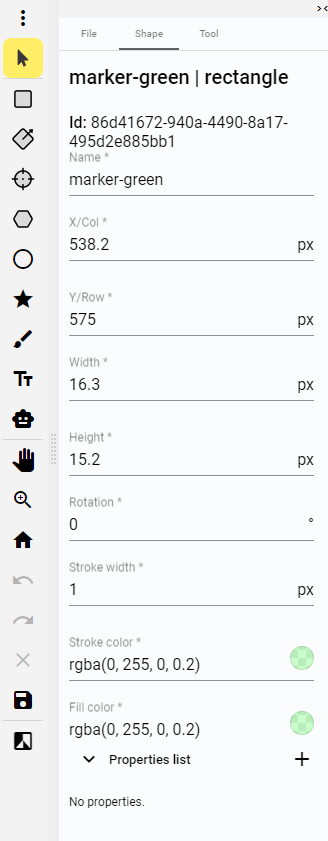
Figure 12. Annotation panel and details
Layout setting
The first button on the panel is represented by three vertical dots. Click this button to open the layout settings.

Figure 13. Layout setting
Selection tool
The Selection tool can be used to select a Shape, display its details, or delete it.
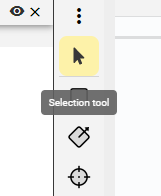
Figure 14. Selection tool
Select an existing shape to view its details.
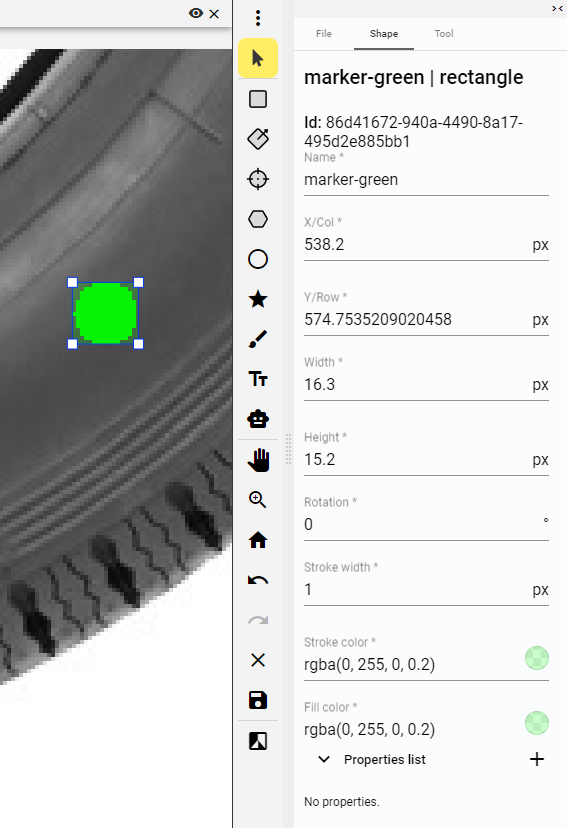
Figure 15. Shape with details
When a Shape is selected, it can be moved or modified. Values can be edited in the Details panel, and the Shape can be moved on the Image. Polygon and mask shapes have additional editing options, such as adding or removing vertices or modifying their area.
Add Shape
For each Shape, there is a button to create a new one. Supported Shape types include rectangle, oriented rectangle, cross, polygon, ellipse, path, and mask.
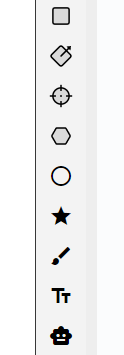
Figure 16. Add Shape buttons
Pan tool
The Pan tool is used to move the displayed Image in the view.
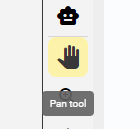
Figure 17. Pan tool
Zoom tool
The left mouse click is used to zoom in, and the right mouse click is used to zoom out. Zooming follows the position of the cursor.
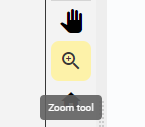
Figure 18. Zoom tool
Reset zoom
This option resets the view to the default zoom level.
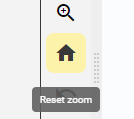
Figure 19. Reset zoom
Undo and Redo buttons
These buttons allow you to revert to previous steps or redo actions.
Figure 20. Undo and redo buttons
Clear changes
This button removes all unsaved changes without the option to revert them.
Figure 21. Clear changes button
Save changes
This button saves all changes and clears the undo/redo history.
Figure 22. Save changes button
Filters
Click the Filters button to open the Filters settings.
Figure 23. Filters button
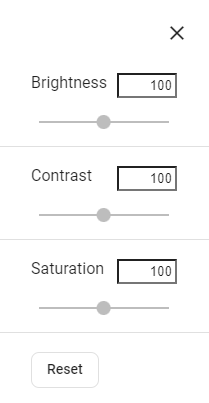
Figure 24. Filters setting
Filters can be applied to the selected Image.

Figure 25. Filters with default values

Figure 26. Filters applied