Images, Documents and Files
7 minute read
Images
Images can be uploaded to the BeeYard as Files or Images. By default, Images are displayed with Overlays, with the Overlay having the same name as the Image.
Add Image to Cell
-
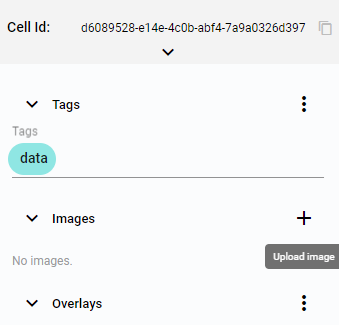
Click the
Upload imagebutton in the Cell.
Figure 1. Upload image button -
A popup window for uploading an image will appear.
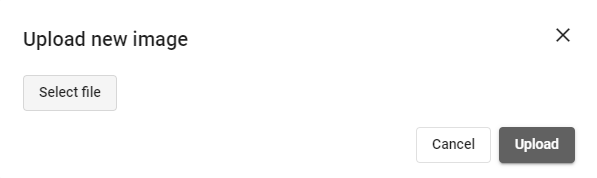 Figure 2. Upload image dialog
 -
Click the
Select filebutton to open the system dialog for selecting an image file. -
Select an image file and fill in the Filename. The selected image will be displayed.
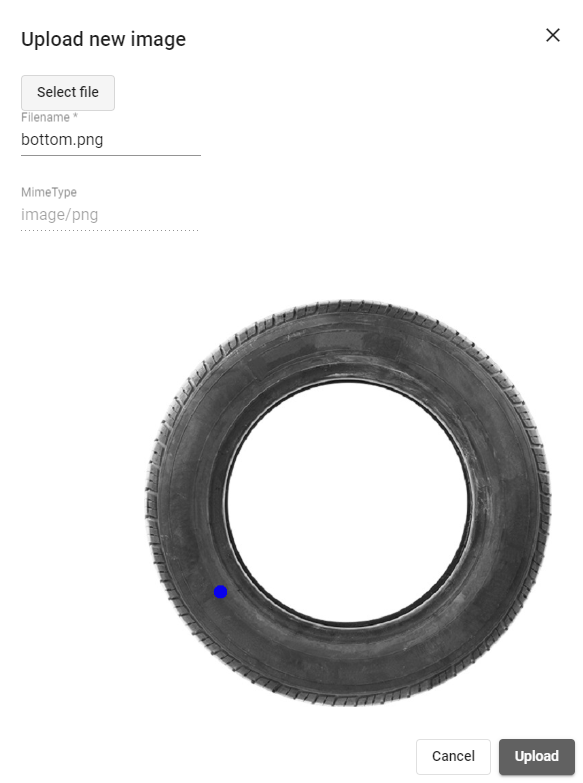 Figure 3. Upload new image window
 -
The uploaded Image will be displayed in the Editor view and selected in the list of Images.
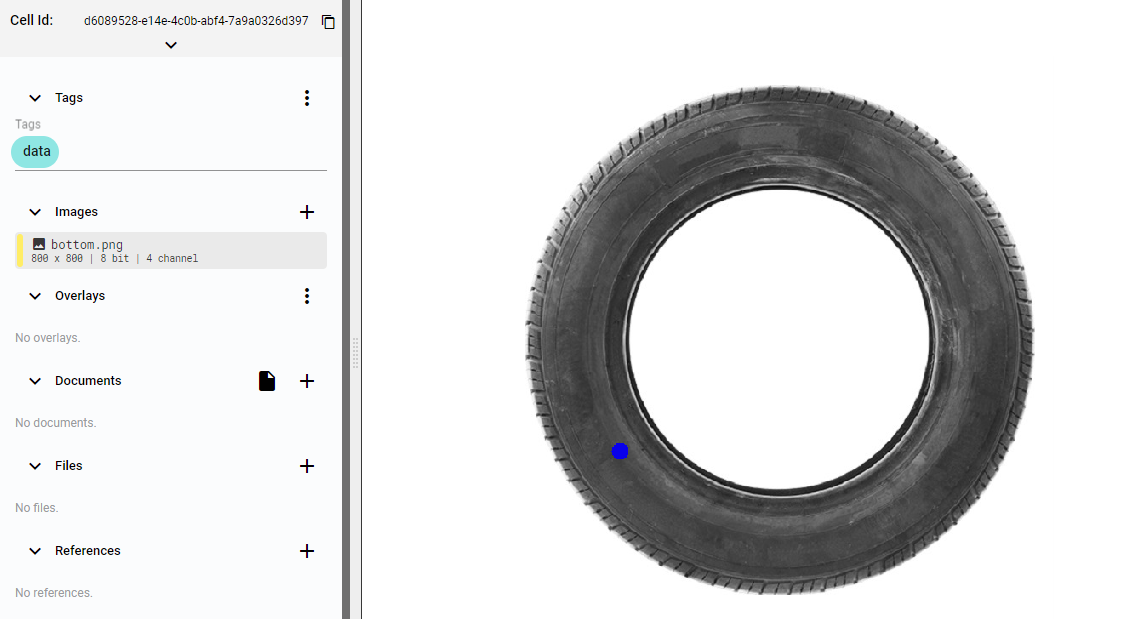 Figure 4. Image uploaded and displayed
Annotation panel
Since Images are displayed together with Shapes belonging to matching Overlays, Shapes can only be created when the Image is active. By default, when the Image and Overlay names match, the corresponding Overlay and Layer are automatically created when the first Shape is added to the Image. If a different Overlay and Layer are selected, the Shape will be added to the selected ones.
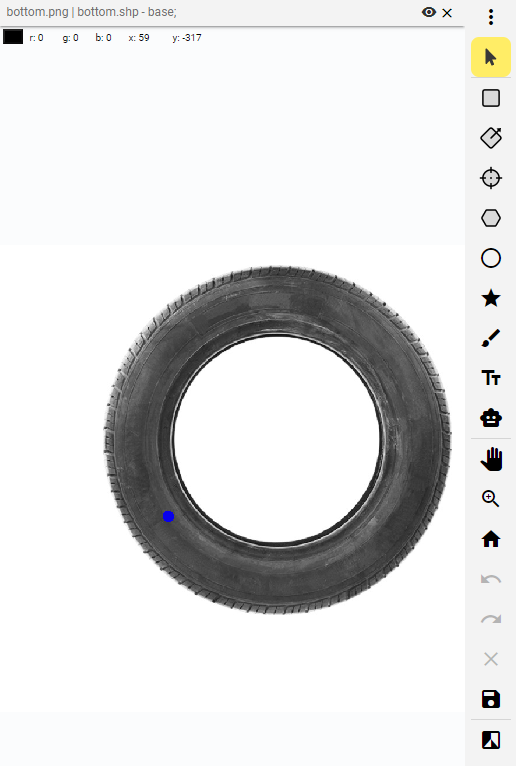
Figure 5. Annotation panel
Shape tools
Shapes can be created using any of the Shape tools available in the Annotation Panel. The available tools include rectangle, oriented rectangle, cross, polygon, ellipse, path, mask, Ocr, and Smart tools. The Annotation Panel is only available in the Editor app.

Figure 6. Shape tools
Image tools
To move the Image, use the Pan tool, Zoom, or Reset the view. After creating or manipulating Shapes, the Undo and Redo functions are active. To save any changes, use the Save button. Image manipulation tools are available in both the Editor and Viewer apps, while tools related to Shapes are only available in the Editor app.

Figure 7. Image tools
Filters
To enhance the Image itself, Filters can be applied. This function is available in both the Viewer and Editor apps, more information in the Editor app.

Figure 8. Filters tool
Details
-
To view details about the Image, right-click on the Image name.
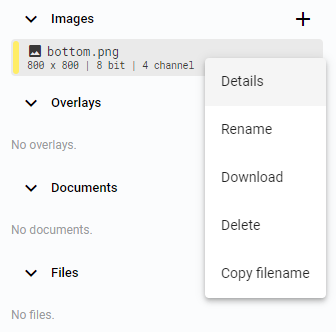 Figure 9. Right click options
 -
Select
Detailsto open a window with information about the File.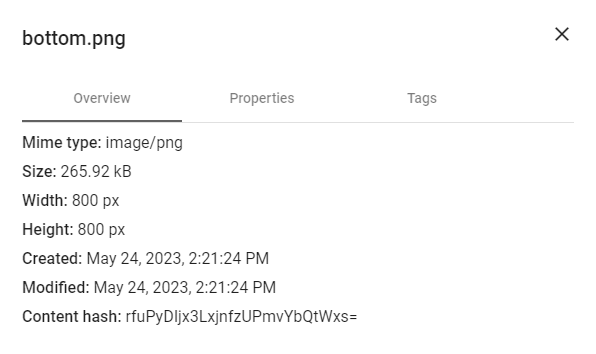 Figure 10. Details
The details include basic information such as name or MIME type, Properties connected to the File, and its Tags. Both Properties and Tags can be edited in the Details window.
|
Note
|
On the right side, next to the annotation panel, are visible details of any selected item. |
Rename
-
To rename the Image, right-click on its name in the list of Images.
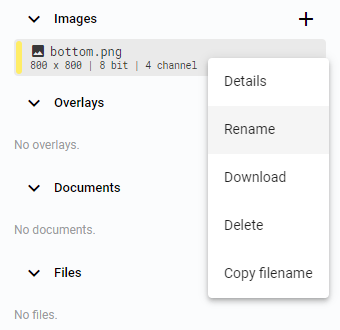 Figure 11. Right click options
 -
Select
Rename,and a pop-up window with an editable filename will appear.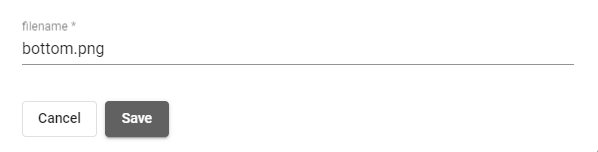 Figure 12. Filename pop up window
Download
-
To download the Image, right-click on its name in the list of Images.
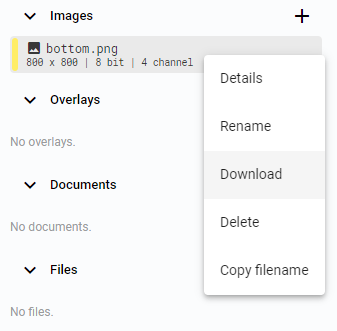 Figure 13. Right click options
 -
Select the
Downloadoption. -
The Image will be downloaded to your local disk.
Copy filename
-
To copy the name of the Image, right-click on the Image name.
 Figure 14. Right click options
 -
Select the
Copy filenameoption. -
The filename will be copied to the clipboard.
Delete
-
To delete the Image, right-click on its name in the list of Images.
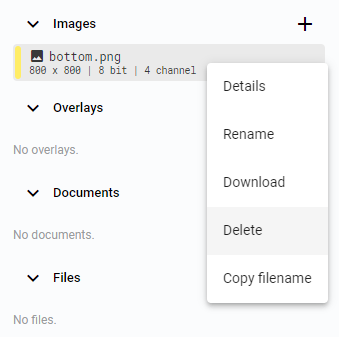 Figure 15. Right click options
 -
Select the
Deleteoption. -
The Image will be deleted from the Cell.
Documents
Documents are editable JSON files that can be processed in the BeeYard. For other data formats, use Files.
To open and edit Documents, use the Viewer app and the Editor app, respectively.
Add Document to Cell
In the Editor app, you can create a new empty Document or upload an existing Document from your local disk.
Create new Document
|
Note
|
The created Document will be empty. |
-
Click the
Create new documentbutton in the Documents section in the Cell.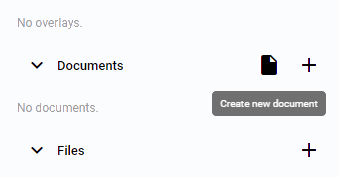 Figure 16. Create new document button
 -
Enter the document name and choose if the Document will be
Searchableor not.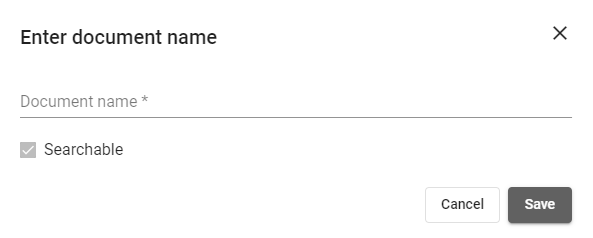 Figure 17. Enter document name
 -
The saved Document will be displayed in the list of Documents in the Cell.
Upload Document from local disk
-
Click the
Upload documentbutton in the Documents section of the Cell to upload an existing Document from your local disk.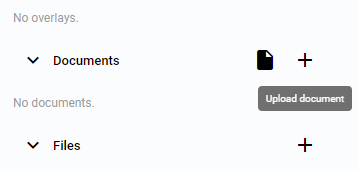 Figure 18. Upload document button
 -
A popup window for uploading a document will appear.
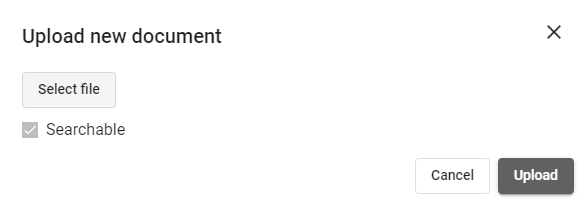 Figure 19. Upload new document
 -
Click the
Select filebutton to open a system dialog to select a JSON file. -
After selecting a file, set the Filename and Searchable option.
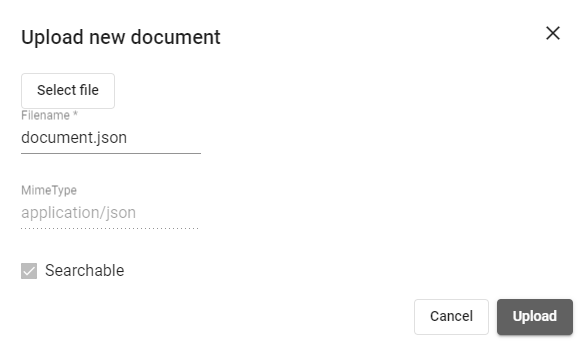 Figure 20. Upload new document, file selected
 -
The uploaded Document will be displayed in the list of Documents in the Cell.
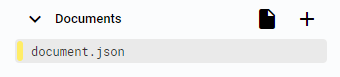 Figure 21. Document uploaded and displayed
Edit Document
-
Select the Document you want to edit, and it will be displayed in the view.
-
Click the
Editbutton on the right side of the view to enter editing mode. Figure 22. Details bar
 -
While the
Editbutton is selected, you can make changes to the data in the Document. Figure 23. Edit button selected
 -
Click the
Savebutton next to theEditbutton to save all the changes. Figure 24. Save button
 -
The changes in the Document will be saved, and editing mode will be deactivated.
Details
-
To view details about the Document, right-click on the Document name.
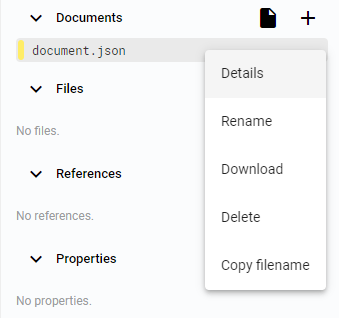 Figure 25. Right click options
 -
Select
Detailsto open a window with information about the Document.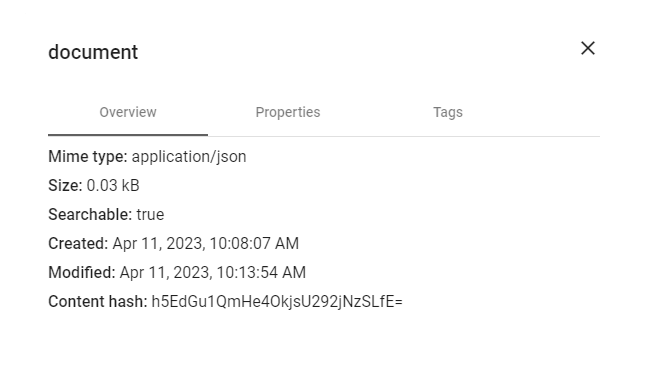 Figure 26. Details
The details include basic information such as name, mime type, Properties connected to the Document, and its Tags. Both Properties and Tags can be edited in the Details window.
Rename Document
-
To rename the Document, right-click on the Document name.
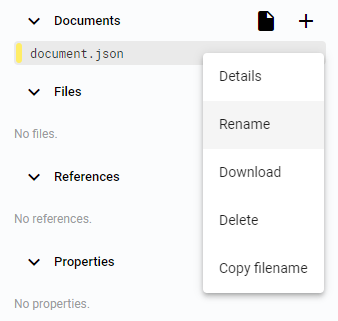 Figure 27. Right click options
 -
Select
Renameto open a window with an editable filename. Figure 28. Filename pop up window
Download Document
-
To download the Document, right-click on the Document name.
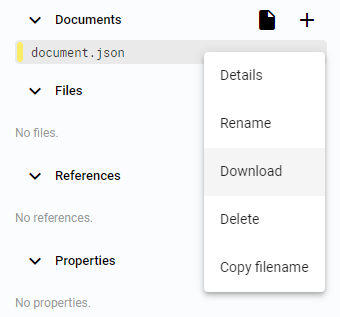 Figure 29. Right click options
 -
Select the
Downloadoption. -
The Document will be downloaded to your local disk.
Copy filename
-
To copy the filename of the Document, right-click on the Document name.
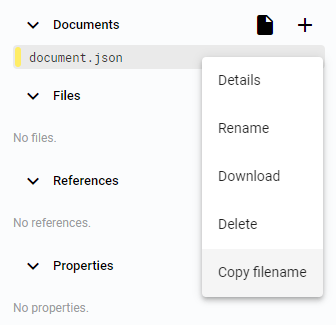 Figure 30. Right click options
 -
Select the
Copy filenameoption. -
The filename will be copied to the clipboard.
Delete Document
-
To delete the Document, right-click on the Document name.
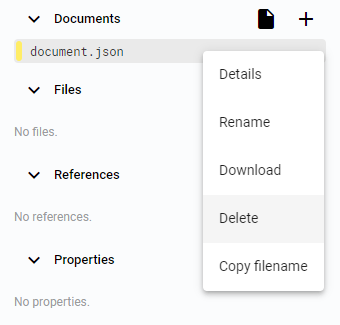 Figure 31. Right click options
 -
Select the
Deleteoption. -
The Document will be deleted from the Cell.
Files
Any data type can be uploaded as a File. Only Files of certain MIME type can be displayed. Files are not editable or searchable, unlike Documents.
Upload File from local disk
-
Click the
Upload filebutton in the Files section of the Cell to upload a file from your local disk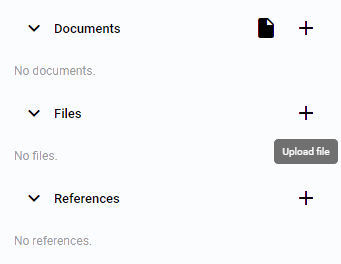 Figure 32. Upload file button
 -
A popup window for uploading a file will appear.
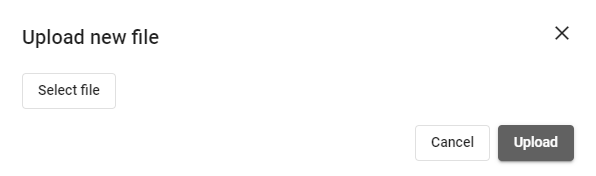 Figure 33. Upload new file
 -
Click the
Select filebutton to open a system dialog for selecting a file. -
After selecting a file, set the Filename and MIME type.
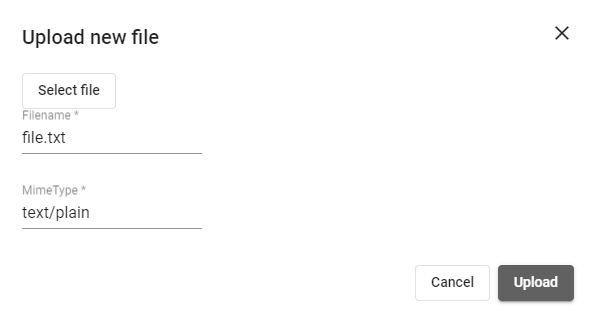 Figure 34. Upload new file window
 -
The uploaded File will be displayed in the list of Files in the Cell.
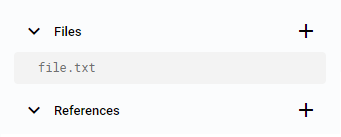 Figure 35. File uploaded and displayed
|
Note
|
Only Files with matching MIME type can be displayed. It can be a text file, image, 3D model, video, and much more. Even if the Files are interactive, it is not possible to edit any. For example, the 3D models can be displayed with a mesh or just as a point cloud, videos can be viewed at different speeds, and text files can be read. |

Figure 36. STL file displayed with a mesh and a point cloud.
Details
-
To view details about the File, right-click on the File name.
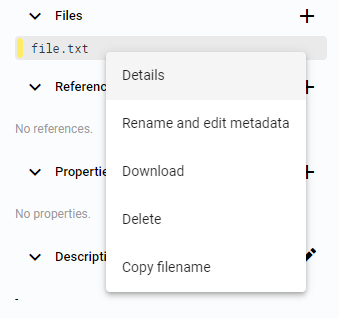 Figure 37. Right click options
 -
Select
Detailsto open a window with information about the File. Figure 38. Details
The details include basic information such as name, MIME type, Properties connected to the File, and its Tags. Both Properties and Tags can be edited in the Details window.
Rename File and change metadata
-
To rename the File or change its metadata, right-click on the File name.
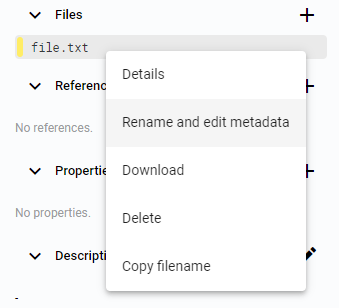 Figure 39. Right click options
 -
Select
Rename and change metadatato open a pop-up window with an editable filename and type.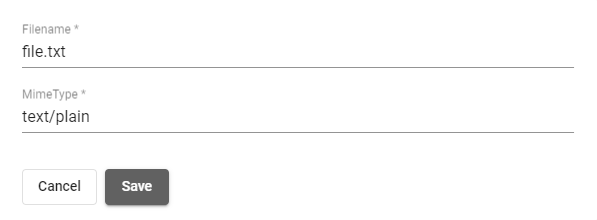 Figure 40. Filename pop up window
Download File
-
To download the File, right-click on the File name.
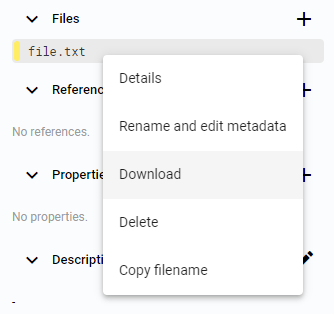 Figure 41. Right click options
 -
Select the
Downloadoption. -
The File will be downloaded to your local disk.
Copy filename
-
To copy the name of the File, right-click on the File name.
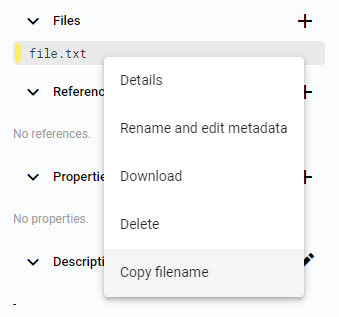 Figure 42. Right click options
 -
Select the
Copy filenameoption. -
The filename will be copied to the clipboard.
Delete File
-
To delete the File, right-click on the File name.
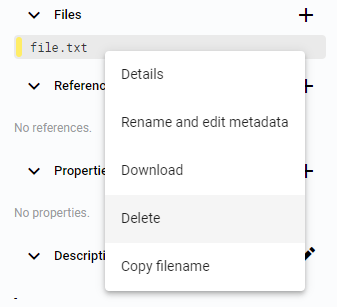 Figure 43. Right click options
 -
Select the
Deleteoption. -
The File will be deleted from the Cell.