Tags, Properties and References
8 minute read
Tags
Tags are used to annotate Cells or Files. Tags are categorized and can be customized with specific rules. By default, there is a set of system Tags with predefined rules that cannot be edited.
Create Tag template
Before using custom Tags for annotation, it is necessary to create a Tag template.
Create Tag template in the Workspace settings
In the Workspace settings, you can find a list of Tag templates and rules. You can add or remove Tag templates, as well as create, modify, or remove rules.
Create Tag template in Editor
-
Go to the Editor and select a Cell.
-
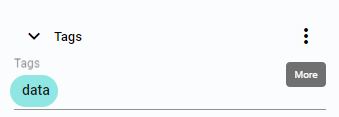
Click the three vertical dots in the Tag area to access more options.
Figure 1. More Tags options -
Choose the
Add new tag templateoption from the list.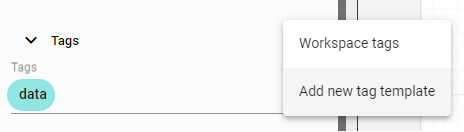 Figure 2. Add new tag template
 -
Name the Tag in the popup window.
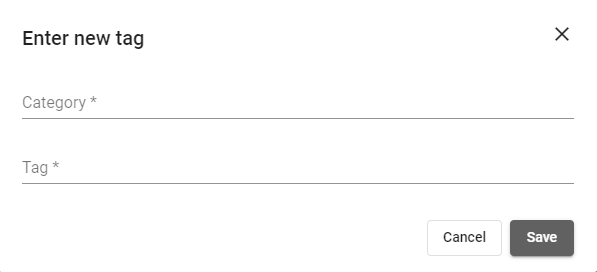 Figure 3. Enter new tag
 -
Select the Tag category from the existing categories or create a new one. The combination of Tag name and category must be unique.
-
Save the Tag. It will be visible in the list of available Tags.
Add Tag to the Cell
There are two ways to add Tags to Cells. One is during the upload process and Cell creation, as described in the Upload guide. The other way is to manually add Tags in the Editor.
-
Open the Editor and select the Cell where you want to add Tags.
In the Tags section, you will see a line with the list of used Tags. Initially, only the system
dataTag is displayed.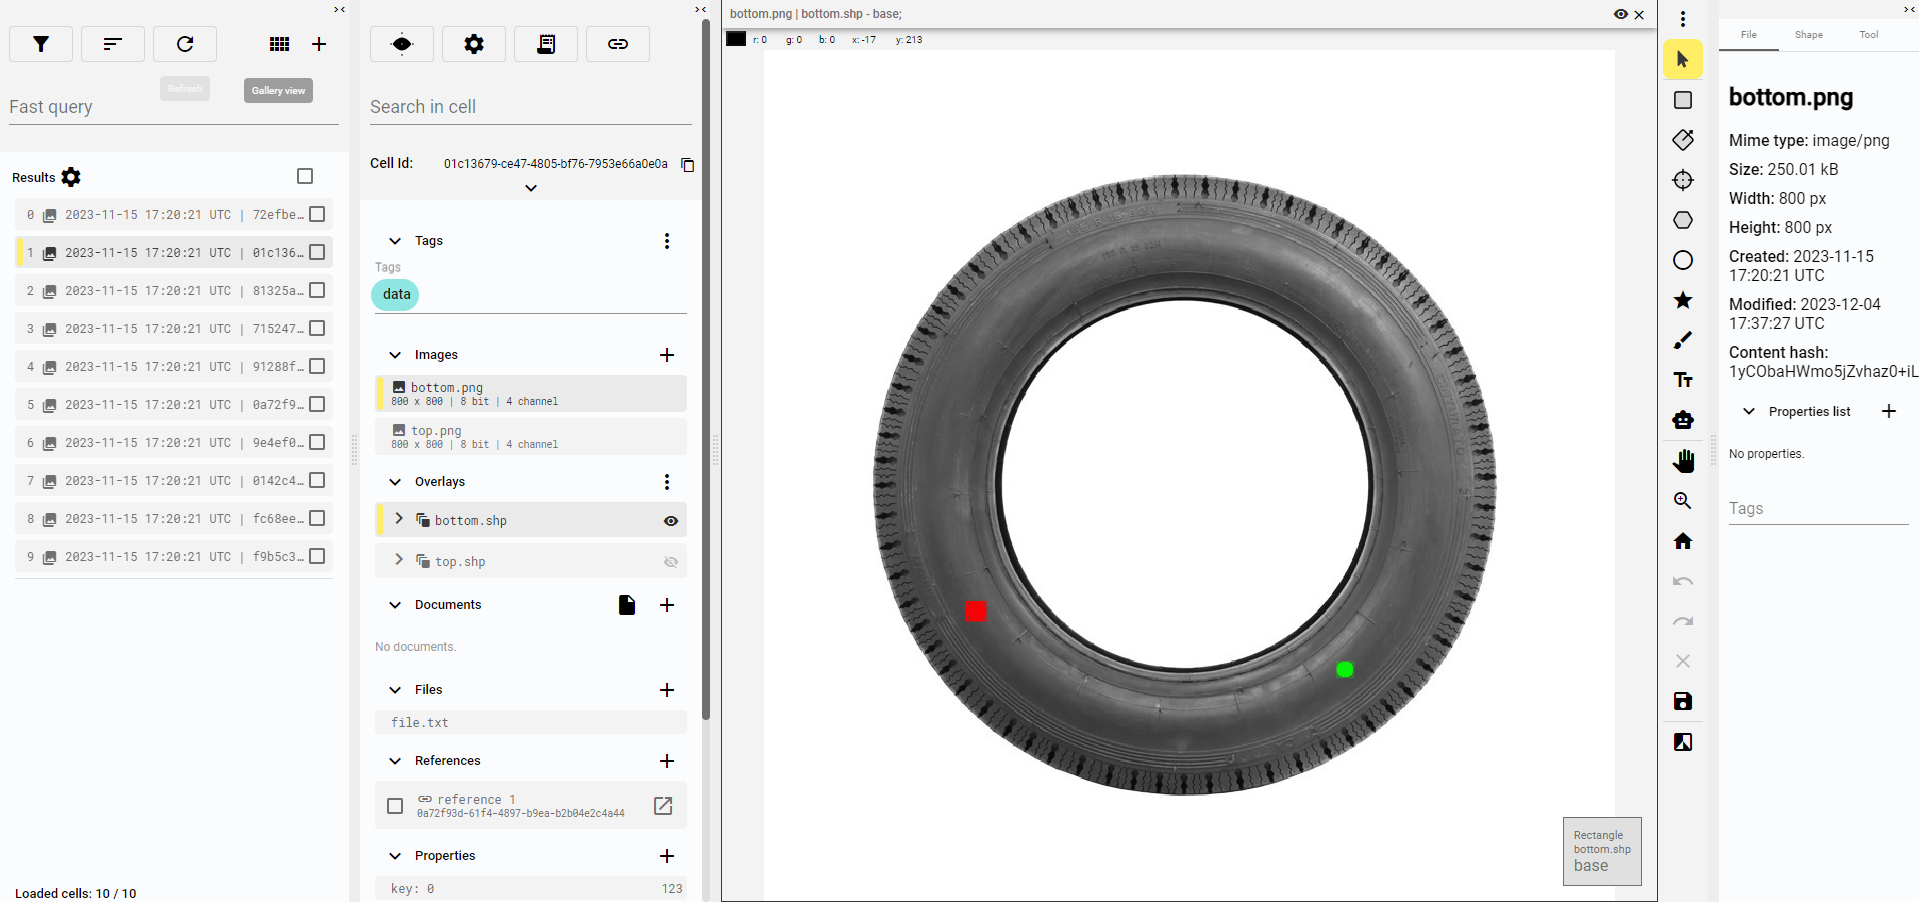 Figure 4. Editor with selected Cell
 -
Click on the line with Tags to see the list of available Tags.
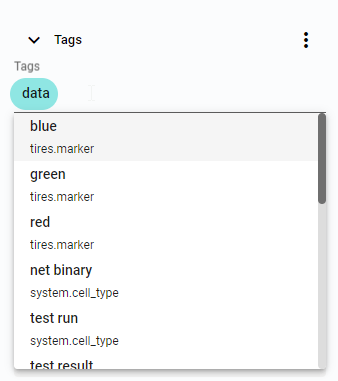 Figure 5. List of available Tags
 -
Select a Tag from the list. The Tag will be moved from the available Tags to the Cell’s Tags.
 Figure 6. List of used Tags
Remove Tag from the Cell
-
To remove a Tag, hover the mouse over it, and a remove button will appear.
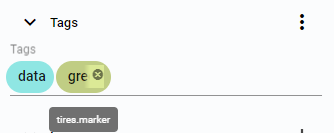 Figure 7. Cross button on the Tag
 -
Click the remove button to remove the Tag.
Figure 8. Tag removed
Add Tag to File
Custom Tags can also be applied to Files within Cells.
-
Select the item you want to tag and right-click on its name.
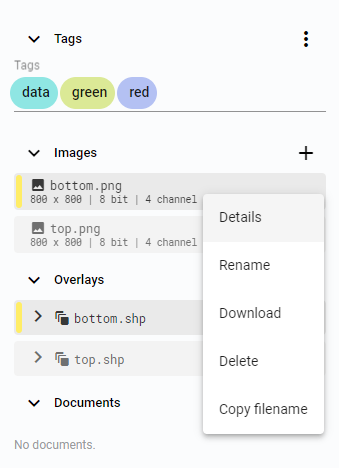 Figure 9. Right click options
 -
Choose
Detailsto open a popup window with Overview, Properties, and Tags tabs.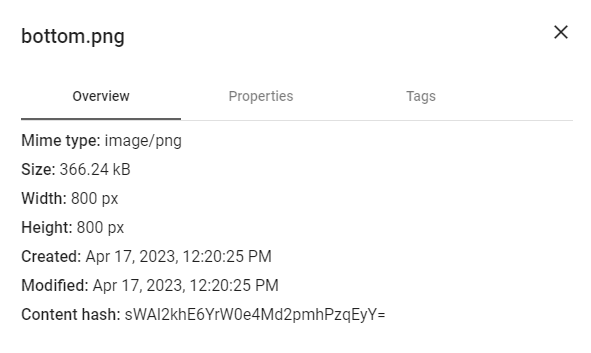 Figure 10. Image details
 -
Select the
Tagstab.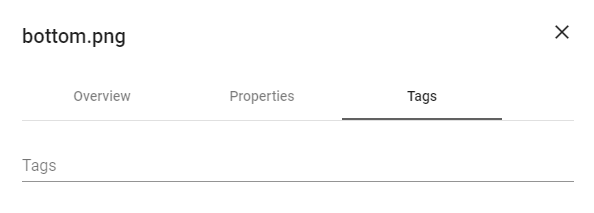 Figure 11. Image Tags details.
 -
Click on the
Tagsline to see the list of available Tags.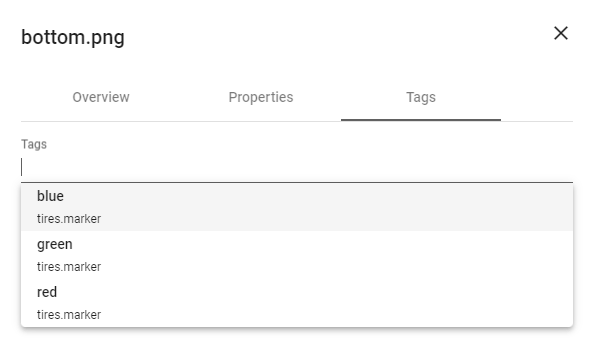 Figure 12. Available Tags.
 -
Select a Tag from the list. It will be added to the Image Tags list, and the list of available Tags will be closed.
 Figure 13. List of Tags
 -
After closing the details window, the Tags will be displayed after the name of the Image.
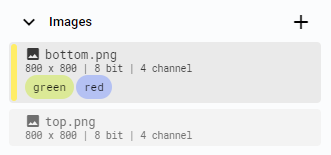 Figure 14. Image with Tags
Remove Tag from data
-
Select the item from which you want to remove a Tag and right-click on its name.
 Figure 15. Right click options
 -
Choose
Detailsto open the popup window.
Figure 16. Image details -
Select the
Tagstab.
Figure 17. Image Tags details. -
To remove a Tag, hover the mouse over it, and a remove button will appear.
 Figure 18. Cross button on the Tag
 -
Click the remove button to remove the Tag.
Apply rules
Rules for custom Tag categories are optional and editable, while rules for system Tags are fixed. If a rule is not followed, such as the Tag not being assigned yet, a warning will be displayed in the Tag data section.
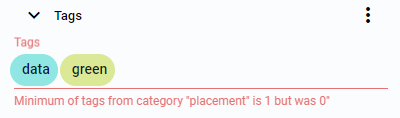
Figure 19. Tag rule warning
To comply with the rule, add or remove a Tag from the specified category.
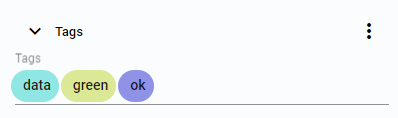
Figure 20. Tag rule followed
|
Tip
|
Data in BeeYard is organized into Workspaces. The Workspace Tag is associated with the Workspace and all the Cells within it are annotated with this Tag. The Workspace Tag is created and removed along with the Workspace itself. |
Display Workspace Tags
-
Go to the Editor and select a Cell.
-
Click the three vertical dots in the Tag area to access more options.
Figure 21. More Tags options -
Choose the
Workspace tagsoption from the list.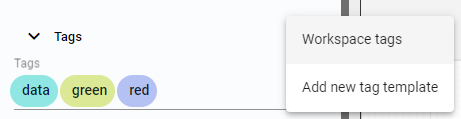 Figure 22. Workspace tags
 -
A popup window will appear, showing the list of Workspaces the Cell belongs to.
A Cell can belong to multiple Workspaces.
 Figure 23. Workspace tags list
Add Cell to another Workspace
-
In the
Workspace tagswindow, click on theWorkspaceoption to see the list of available Workspaces.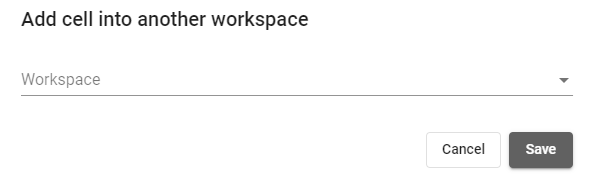 Figure 24. Add cell to another workspace
 -
Select the Workspaces to which you want to add the Cell.
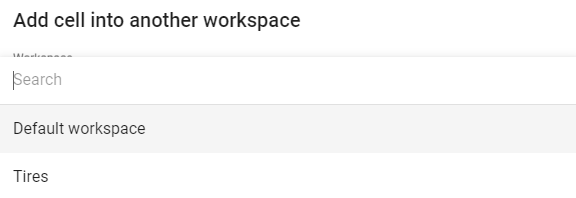 Figure 25. Available Workspaces
 -
Click
Save.
Remove Workspace Tag
|
Note
|
To remove a Cell from a Workspace, the Workspace must be active. |
-
In the
Workspace tagswindow, click on theWorkspaceoption to see the list of Workspace Tags. -
Click the
Remove cell from workspacebutton to remove the Cell from the Workspace. Figure 26. Remove cell from workspace
Properties
|
Note
|
Properties are JSON values connected to Cells, Files or Shapes. Properties can be used similarly to Tags but support any value, not just predefined enumerations. |
Add Property to the Cell
-
Click the
Add propertybutton in the Properties section of the Cell to create a Property.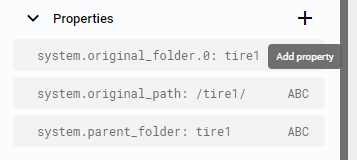 Figure 27. Add property button
 -
Set a unique Property key, type, and value in the popup window.
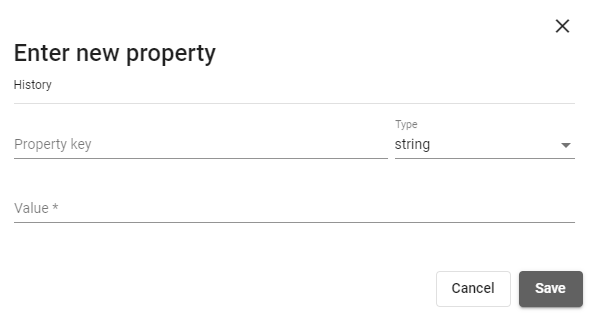 Figure 28. Enter new property window
 -
Click the
Savebutton, and the Property will be added to the list. It will be identified by its key, value, and type symbol. The Property can be reused from theHistorylist.
Add Property to data inside the Cell
-
To add a Property to an Image, Overlay, Shape, Document, or File, open its
Details. Right-click on the name and select theDetailsoption or double-click on the name.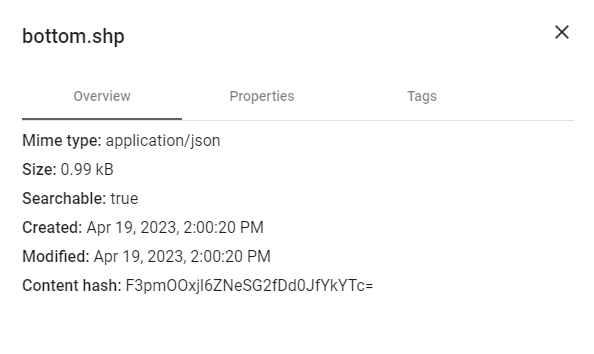 Figure 29. Image details
 -
Select the
Propertiestab.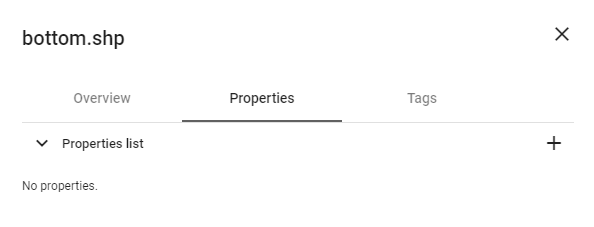 Figure 30. Properties tab
 -
Click the
Add Propertybutton and follow the same steps asAdd property to the Cell(step 2).
Add Property to Shape using the Details panel
-
Select the Shape in the Overlay where you want to add a Property.
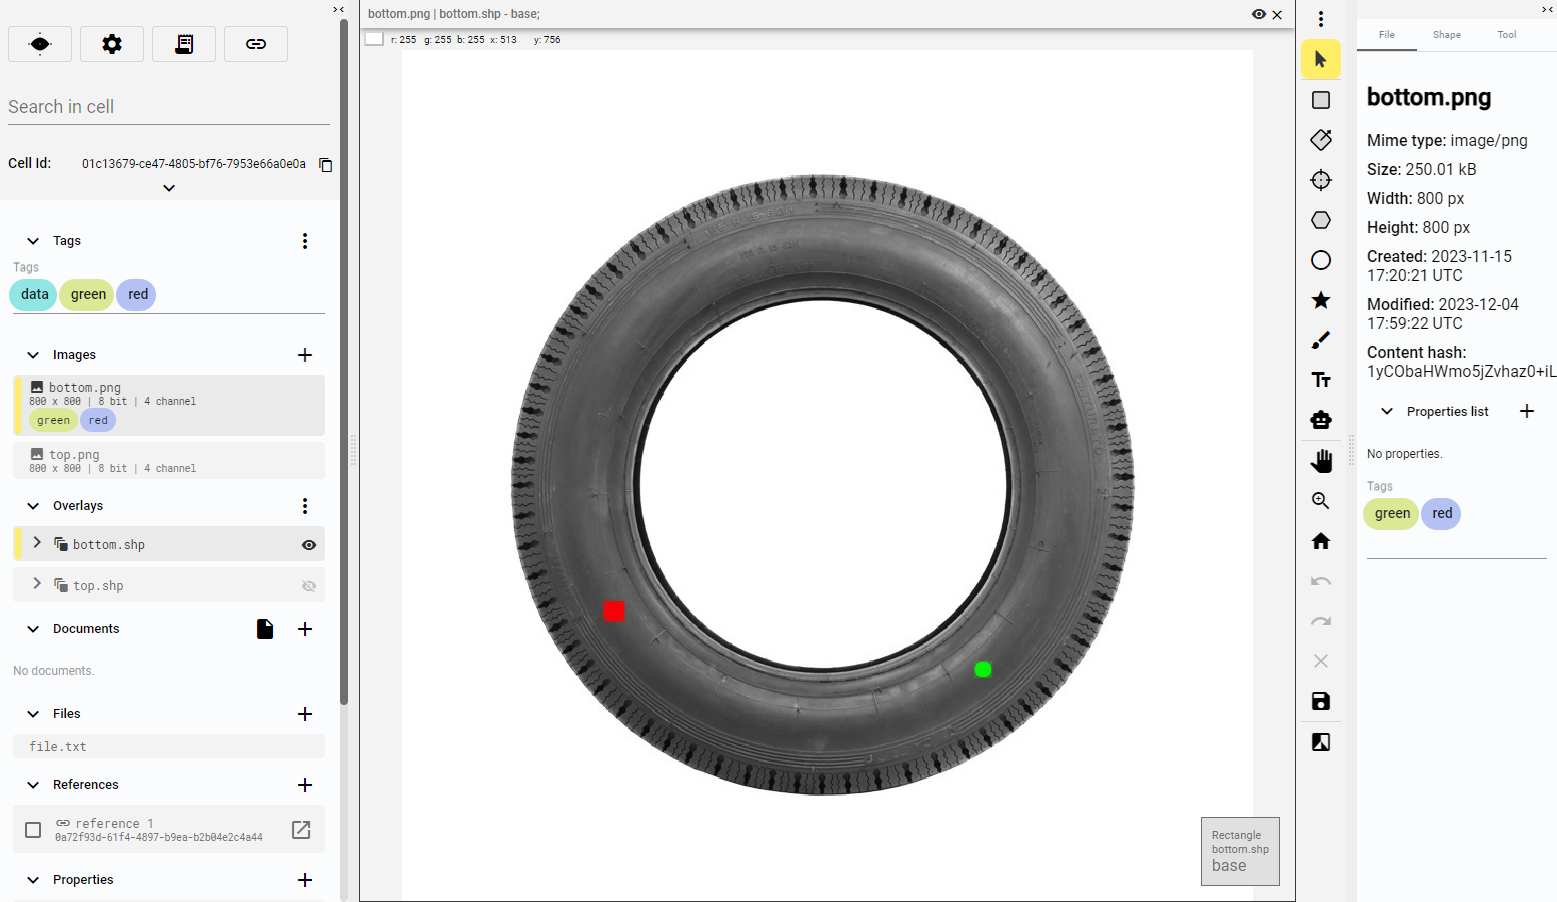 Figure 31. Select Shape
 -
Make sure the
Detailspanel on the right side is open. Figure 32. Shape details
 -
Click the
Add Propertybutton and follow the same steps asAdd property to the Cell(step 2).
Copy Property key
-
To copy the key of the Property, right-click on the Property.
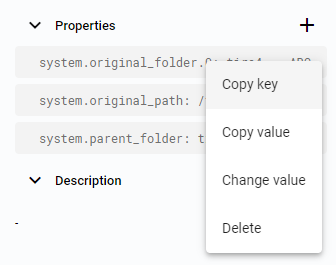 Figure 33. Right click options
 -
Select the
Copy keyoption.
Copy Property value
-
To copy the value of the Property, right-click on the Property.
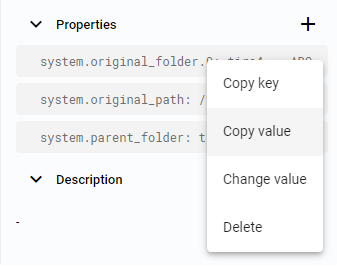 Figure 34. Right click options
 -
Select the
Copy valueoption.
Change Property value
-
To change the value of the Property, right-click on the Property.
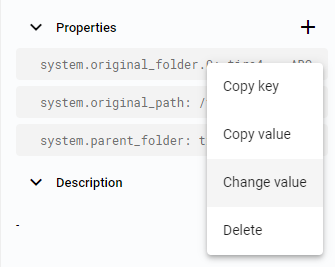 Figure 35. Right click options
 -
Select the
Change valueoption, and an editable popup window will open.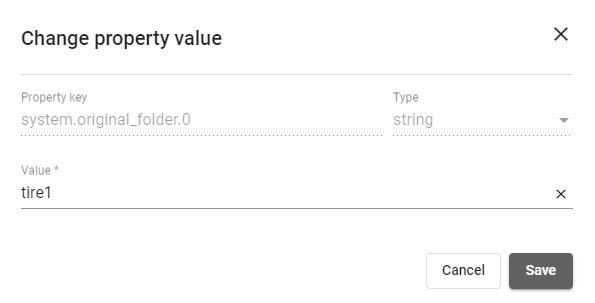 Figure 36. Change property value window
Delete Property
-
To delete the Property, right-click on it in the list of Properties.
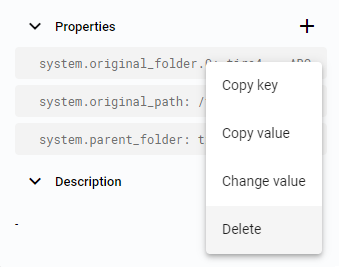 Figure 37. Right click options
 -
Select the
Deleteoption.
References
References allow one Cell to refer to another Cell, and multiple Cells can refer to the same Cell. References can also create bi-directional relationships where Cells refer to each other.
A Reference is defined by a unique key and the target Cell ID. Multiple References can exist from one Cell to another.
|
Note
|
When a Cell keeps References to other Cells, it can display data belonging to each of the target Cells. This data is organized in lists grouped by the Reference key. |
Add reference
-
Obtain the target Cell ID. Click the
Copy IDbutton next to the Cell ID.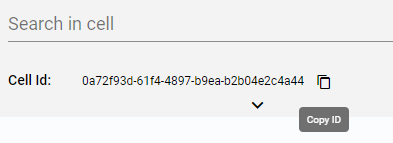 Figure 38. Copy Cell ID
 -
Click the
Add referencebutton in the References section of the Cell.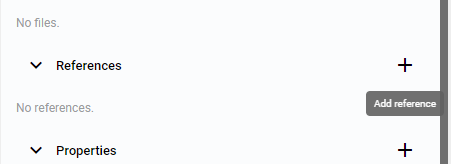 Figure 39. Add reference button
 -
Set a unique Reference key and the target Cell ID in the popup window.
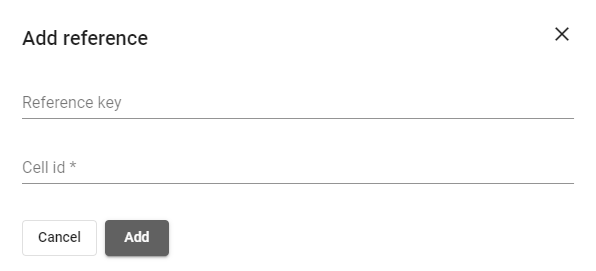 Figure 40. Add reference dialog
 -
Click the
Addbutton, and the new Reference will be added to the list. It will be identified by its key and display the target Cell ID and its Tags.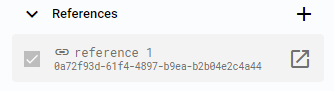 Figure 41. Reference added
Display referenced data
To view data belonging to the referenced Cell, locate the Reference in the list. When the reference is enabled, the data will be visible. When the reference is disabled, the referenced data will be hidden.
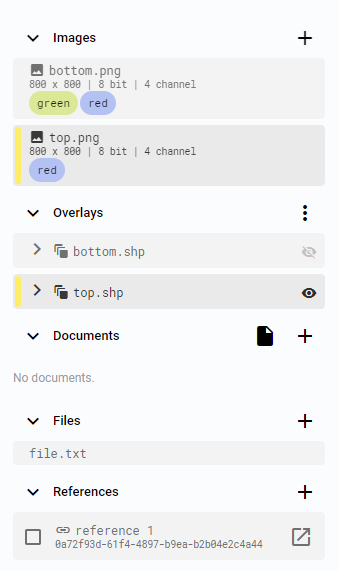
Figure 42. Reference disabled
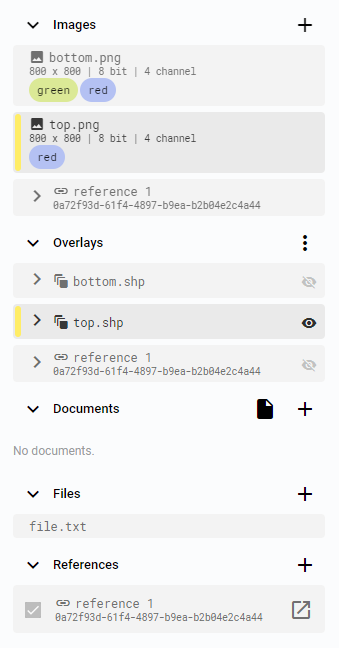
Figure 43. Reference enabled
Referenced data is labeled with the reference key and can be displayed in the same way as local data.
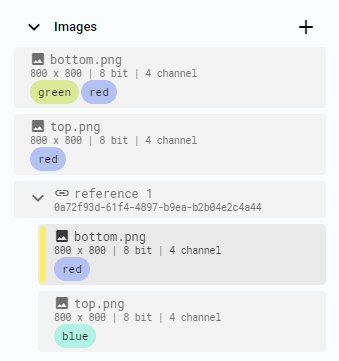
Figure 44. Data referenced
Open the referenced Cell
-
To access the target Cell of a Reference, click the symbol next to the target Cell ID.
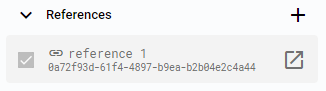 Figure 45. Reference
 -
A new tab containing the target Cell will open.
Copy ID
-
To copy the ID of the target Cell, right-click on the Reference in the list.
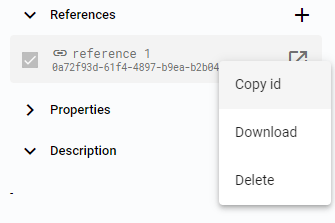 Figure 46. Right click options
 -
Select the
Copy IDoption.
Download the referenced Cell
-
To download the Cell, right-click on the Reference in the list.
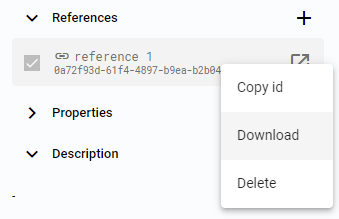 Figure 47. Right click options
 -
Select the
Downloadoption. -
The target Cell will be downloaded to the local disk.
Delete reference
-
To delete the Reference, right-click on the Reference defined by its key and target Cell ID in the list of References.
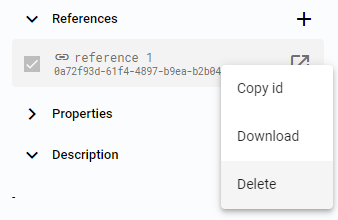 Figure 48. Right click options
 -
Select the
Deleteoption. -
The Reference will be removed from the Cell.